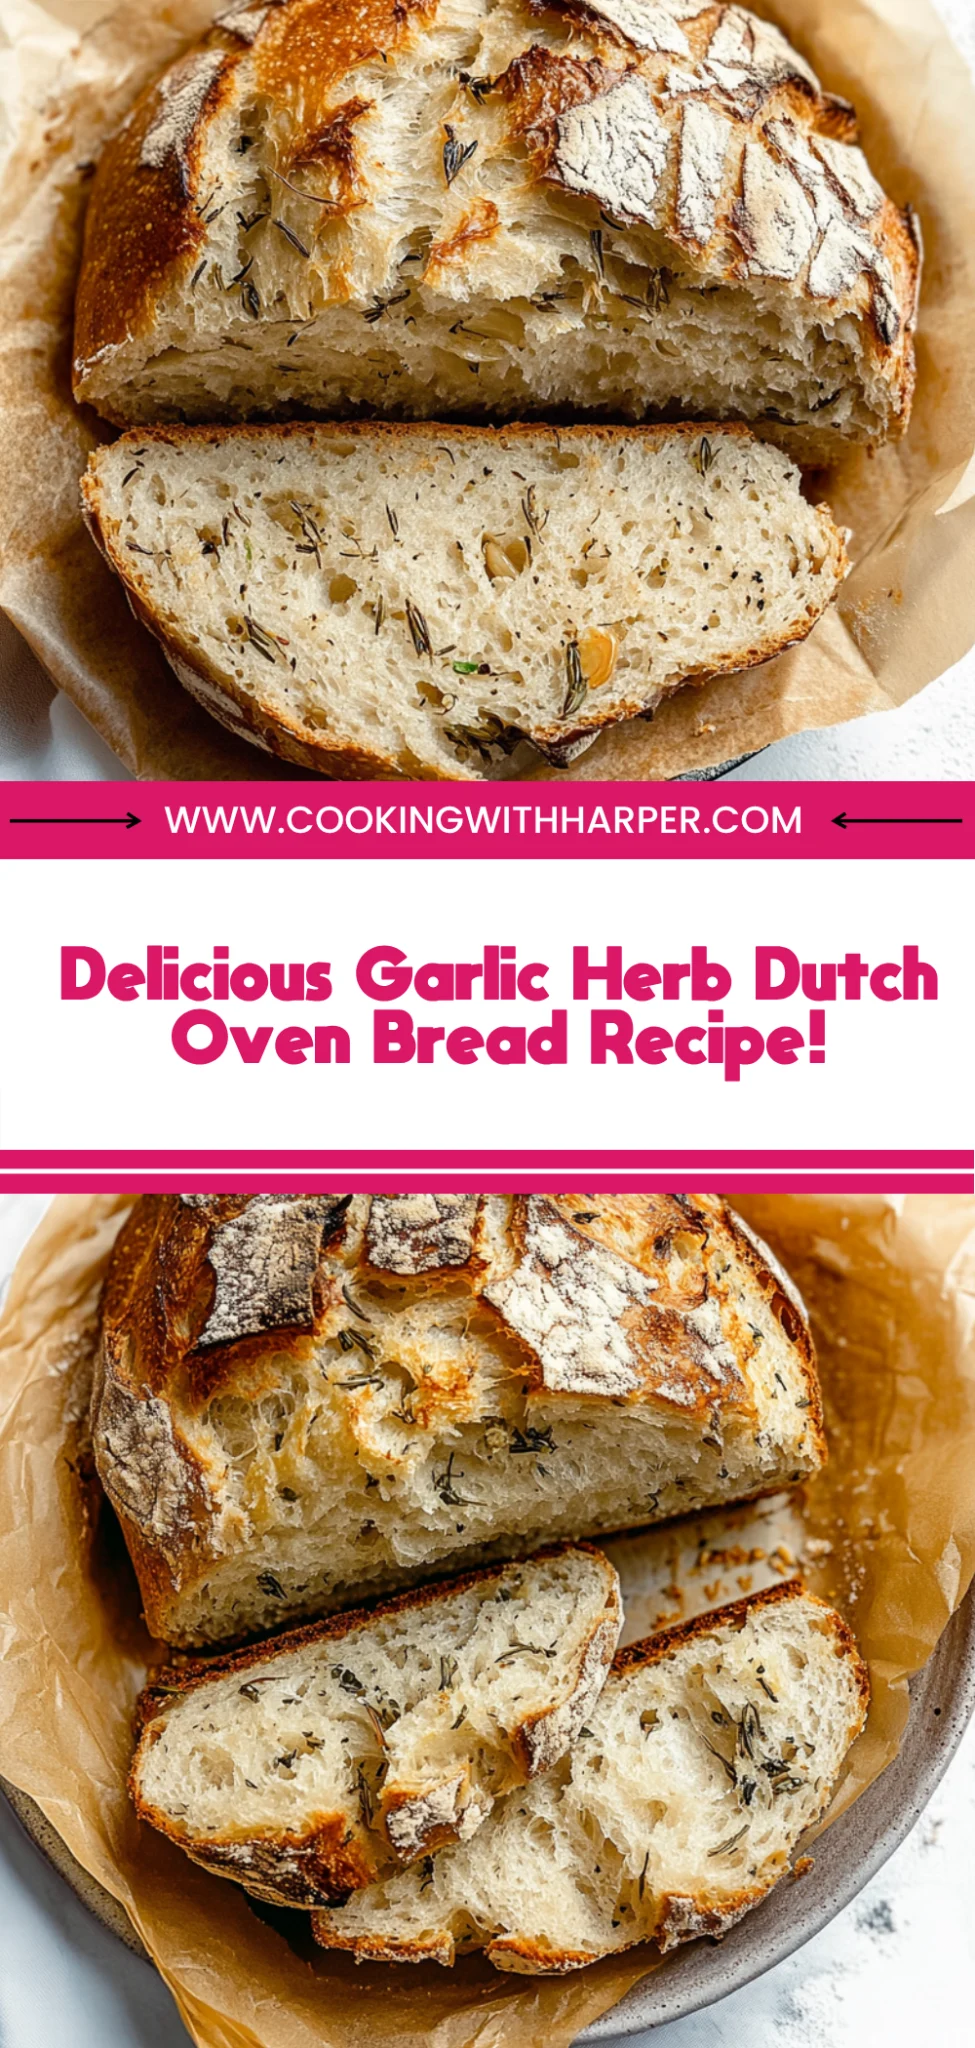
Garlic Herb Dutch Oven Bread Recipe You’ll Love Today!
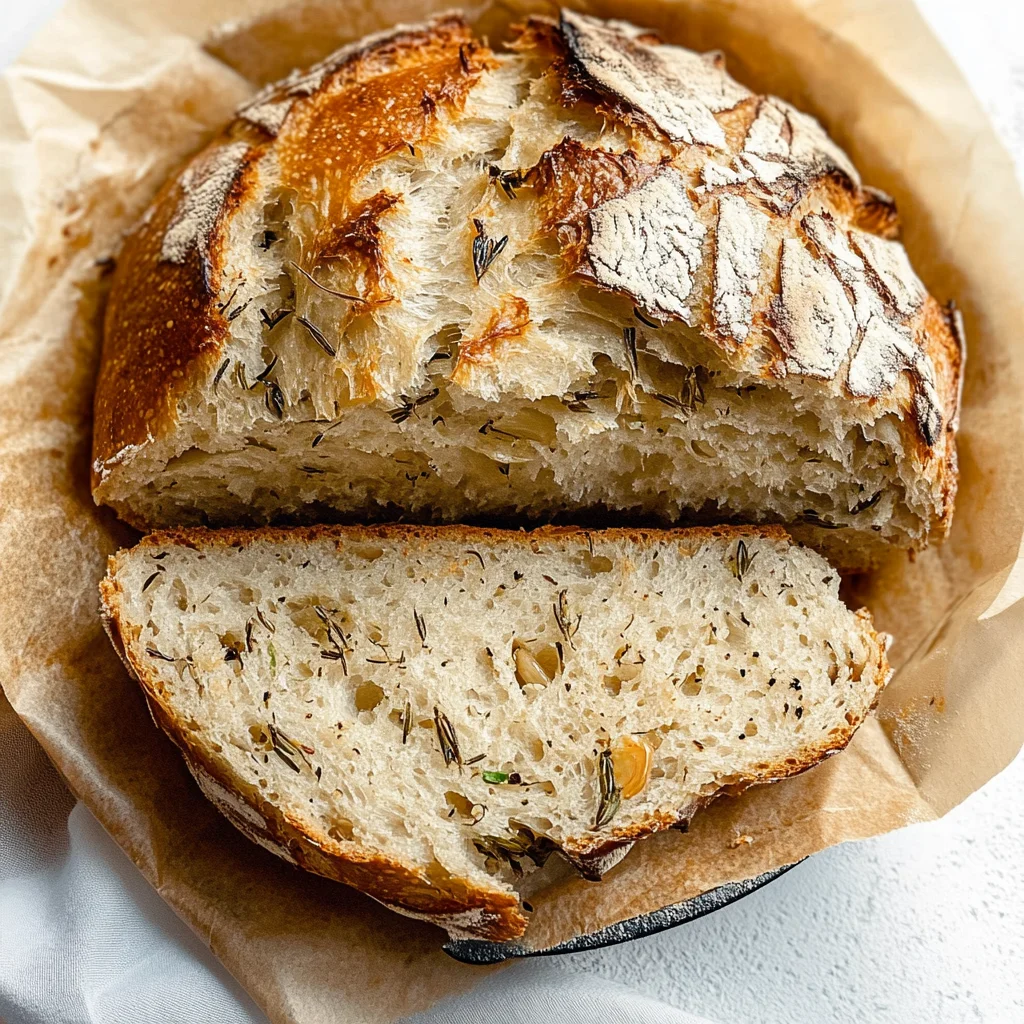
Imagine pulling a golden-brown loaf of Garlic Herb Dutch Oven Bread from the oven, its crust crackling gently as you slice through to reveal a soft, airy interior. The aromatic blend of roasted garlic and fresh herbs wafts through the kitchen, instantly transforming your space into a warm, inviting haven—a perfect companion for cozy weeknight dinners or an elegant addition to any gathering.
What sets this recipe apart is the unique Dutch oven technique that creates a steamy environment, resulting in a perfectly crisp crust and tender crumb. Each bite bursts with flavor, making it an ideal pairing for soups, salads, or simply enjoyed slathered with butter. Embrace the joy of baking with this Garlic Herb Dutch Oven Bread Recipe You’ll Love Today! and elevate your mealtime experience.
Why You’ll Love This Garlic Herb Dutch Oven Bread
This Garlic Herb Dutch Oven Bread is a true game changer in your baking repertoire, combining the rustic crunch of a perfectly baked crust with the soft, pillowy interior that you’ll crave at every meal. The infusion of minced garlic and fresh herbs like rosemary and thyme not only elevates the flavor profile but also fills your kitchen with an irresistible aroma that beckons everyone to the table. With minimal ingredients—just flour, warm water, and a touch of olive oil—you’ll appreciate how simple it is to create an artisan-quality loaf right in your own home. Imagine pulling this golden-brown treasure from the oven, its crispy exterior giving way to a warm, fragrant center; it’s a culinary experience that promises satisfaction in every bite. Don’t wait—dive into this Garlic Herb Dutch Oven Bread Recipe You’ll Love Today!
What Kind of Flour Should I Use?
For this Garlic Herb Dutch Oven Bread, I recommend using all-purpose flour as it strikes the perfect balance between structure and tenderness. This type of flour has a moderate protein content, which helps create a crusty exterior while keeping the inside soft and airy—ideal for capturing the delightful flavors of garlic and herbs. If you choose to use bread flour instead, you’ll achieve an even chewier texture due to its higher protein content; just be mindful to adjust your hydration slightly, as bread flour can absorb more water.
Ingredients for the Garlic Herb Dutch Oven Bread
Each ingredient in this dish plays an essential role in flavor and texture. Here’s what you’ll need:
3 cups all-purpose flour: Provides the structure and chewiness of the bread.
1 cup warm water (about 110°F): Activates the yeast and hydrates the dough for a perfect rise.
1 tablespoon active dry yeast: Ferments and creates air pockets, giving the bread a light texture.
1 tablespoon salt: Enhances flavor and strengthens the dough’s structure.
2 tablespoons olive oil: Adds moisture and richness while improving crust texture.
4 cloves garlic (minced): Infuses a robust, aromatic essence throughout the bread.
2 tablespoons fresh rosemary (chopped): Offers a fragrant herbal note that complements the garlic beautifully.
2 tablespoons fresh thyme (chopped): Contributes earthy flavors that deepen the overall taste.
How To Make the Garlic Herb Dutch Oven Bread
Activate the Yeast
In a mixing bowl, combine 1 cup of warm water (about 110°F) with 1 tablespoon of active dry yeast. Allow this mixture to sit for about 5 minutes until it becomes frothy, indicating that the yeast is activated and ready to help your bread rise.
Combine the Ingredients
Next, add 3 cups of all-purpose flour, 1 tablespoon of salt, 2 tablespoons of olive oil, 4 minced cloves of garlic, 2 tablespoons of chopped fresh rosemary, and 2 tablespoons of chopped fresh thyme to the yeast mixture. Stir together until a shaggy dough forms; it should be slightly sticky but manageable.
Knead the Dough
Transfer the dough onto a floured surface and knead it for about 5 minutes until it becomes smooth and elastic. This process develops the gluten, which is essential for achieving the perfect bread texture. If at any point the dough feels too sticky, sprinkle a little extra flour as needed.
Let It Rise
Place the kneaded dough into a greased bowl and cover it with a kitchen towel. Set it in a warm place and let it rise for approximately 1 hour or until it has doubled in size. Look for a puffy appearance; this indicates that your dough is ready for baking.
Preheat Your Dutch Oven
While your dough is rising, preheat your oven to 450°F (230°C) with your Dutch oven inside. This step is crucial as it allows for an even bake and helps create a beautiful crust on your bread.
Shape the Dough
After the dough has risen, punch it down gently to release any air bubbles and shape it into a round ball. This shaping helps build tension in the dough’s surface, which will lead to a better structure in your final loaf.
Bake Covered
Carefully remove the hot Dutch oven from the oven and place the shaped dough inside. Cover it with the lid and bake for 30 minutes; this covered environment traps steam which creates that coveted crispy crust.
Bake Uncovered
After 30 minutes, remove the lid from the Dutch oven and continue baking for an additional 15 minutes or until the bread turns deeply golden brown. The internal temperature should read around 200°F when it’s done; this ensures that your bread is fully cooked through.
Cool Before Slicing
Once baked to perfection, carefully remove the bread from the Dutch oven and let it cool on a wire rack. Allowing it to cool before slicing helps set its crumb structure and ensures each slice maintains its shape without crumbling.
How to Serve and Store Garlic Herb Dutch Oven Bread
This Garlic Herb Dutch Oven Bread makes four generous servings, perfect for sharing at your next meal. Slice the loaf and serve it warm alongside a hearty bowl of soup or stew, allowing the crusty exterior to soak up all that delicious broth. For an elegant touch, plate the bread with a drizzle of olive oil and a sprinkle of sea salt, inviting your guests to enjoy each flavorful bite.
To store leftovers, wrap the bread tightly in plastic wrap or place it in an airtight container; it will stay fresh in the refrigerator for up to three days. When you’re ready to enjoy the bread again, reheat it in a preheated oven at 350°F for about 10 minutes to restore its crispy crust—just be sure to add a splash of water on the baking sheet to create steam, which helps maintain its moisture. While this bread can be frozen, keep in mind that thawing may alter its texture slightly, so best enjoyed fresh!
What to Serve With Garlic Herb Dutch Oven Bread
Creamy Polenta
Rich and creamy polenta provides a lush, velvety base that perfectly complements the crusty texture of the garlic herb bread.
Roasted Brussels Sprouts
The caramelized sweetness of roasted Brussels sprouts pairs beautifully with the savory notes of garlic and herbs in the bread.
Garlic Butter Shrimp
Juicy shrimp sautéed in garlic butter create a delightful dish that enhances the bread’s own garlicky goodness while adding a succulent protein touch.
Caprese Salad
The freshness of tomatoes and mozzarella, drizzled with balsamic glaze, brings a bright contrast to the rich flavors of garlic herb bread.
Macaroni and Cheese
This indulgent, cheesy comfort food offers a creamy texture that balances the crusty exterior of the Dutch oven bread delightfully.
Hummus and Veggie Platter
A vibrant assortment of fresh vegetables paired with smooth hummus creates a light, flavorful option that complements the hearty bread without overwhelming its flavor.
French Onion Soup
The rich, savory broth and gooey cheese provide an irresistible combination that invites you to dip your crusty garlic herb bread for maximum flavor absorption.
Can I use whole wheat flour instead of all-purpose flour? Whole wheat flour can be used, but it may result in a denser bread. You might need to adjust the liquid slightly since whole wheat flour absorbs more moisture than all-purpose flour.
Is this Garlic Herb Dutch Oven Bread gluten-free? Unfortunately, this recipe is not gluten-free as it contains all-purpose flour and active dry yeast. For a gluten-free version, you would need to use a suitable gluten-free flour blend and adjust the liquid accordingly.
Can I freeze the bread after baking? Yes, you can freeze the bread once it has fully cooled. Wrap it tightly in plastic wrap and then place it in an airtight freezer bag to maintain freshness. It can be thawed at room temperature or reheated in the oven.
How do I know when the bread is done baking? The bread is done when it is golden brown on top and sounds hollow when tapped on the bottom. Additionally, an internal temperature of about 190°F indicates that it’s fully cooked.
What other herbs can I use besides rosemary and thyme? You can experiment with other herbs like oregano, basil, or parsley for different flavor profiles. Just remember to adjust the amounts based on your taste preference.
Do I need a Dutch oven to make this bread? While a Dutch oven is ideal for creating a steamy environment for crusty bread, you can use any heavy oven-safe pot with a lid. Just ensure that it can withstand high temperatures (450°F) and has a tight-fitting lid to trap steam.
Conclusion
There’s nothing quite like the warm, crusty delight of Garlic Herb Dutch Oven Bread to elevate any meal and bring comfort to your kitchen. As you enjoy this flavorful creation, consider trying out [Herb-Infused Olive Oil Pasta] or [Savory Roasted Vegetable Soup] to complement your bread perfectly. We’d love for you to save this recipe on Pinterest and share your baking experience with us in the comments below!
Garlic Herb Dutch Oven Bread
Ingredients
Method
- In a mixing bowl, combine warm water and yeast. Let it sit for 5 minutes until frothy.
- Add flour, salt, olive oil, minced garlic, rosemary, and thyme to the bowl. Mix until a shaggy dough forms.
- Knead the dough on a floured surface for about 5 minutes until smooth.
- Place the dough in a greased bowl, cover with a kitchen towel, and let it rise in a warm place for 1 hour or until doubled in size.
- Preheat the oven to 450°F (230°C) with the Dutch oven inside.
- Once the dough has risen, punch it down and shape it into a ball.
- Carefully remove the hot Dutch oven, place the dough inside, cover with the lid, and bake for 30 minutes.
- Remove the lid and bake for an additional 15 minutes until golden brown.
- Remove the bread from the Dutch oven and let it cool on a wire rack before slicing.