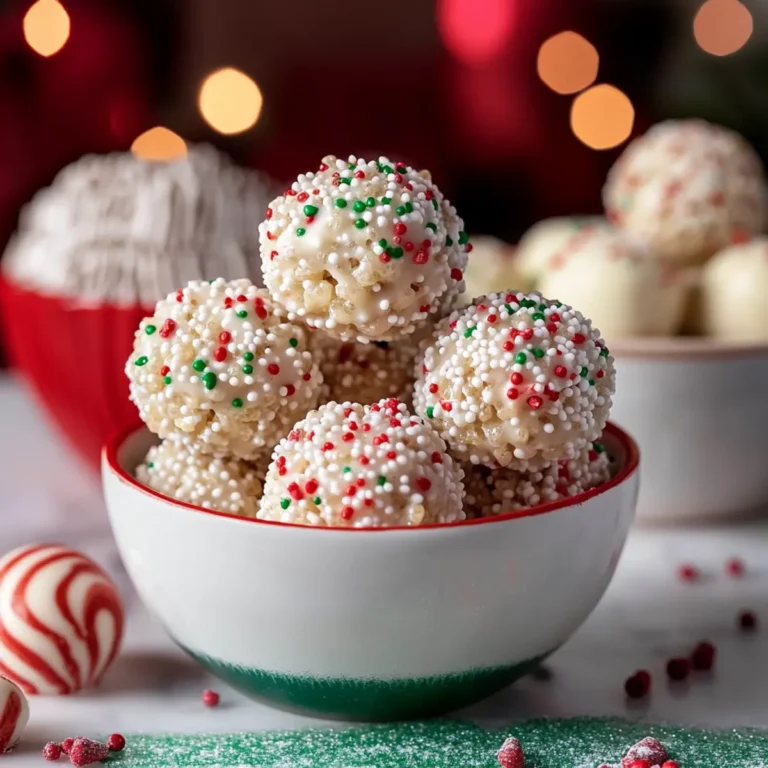
Minty Snowball Cookies
If you’re looking for a delightful treat that brings a sprinkle of joy to any occasion, look no further than these Minty Snowball Cookies. These little bites of goodness are not only incredibly easy to whip up, but they also fill your kitchen with the most wonderful aroma of peppermint. Perfect for holiday gatherings, cozy family nights, or just because you deserve a sweet moment in your day!
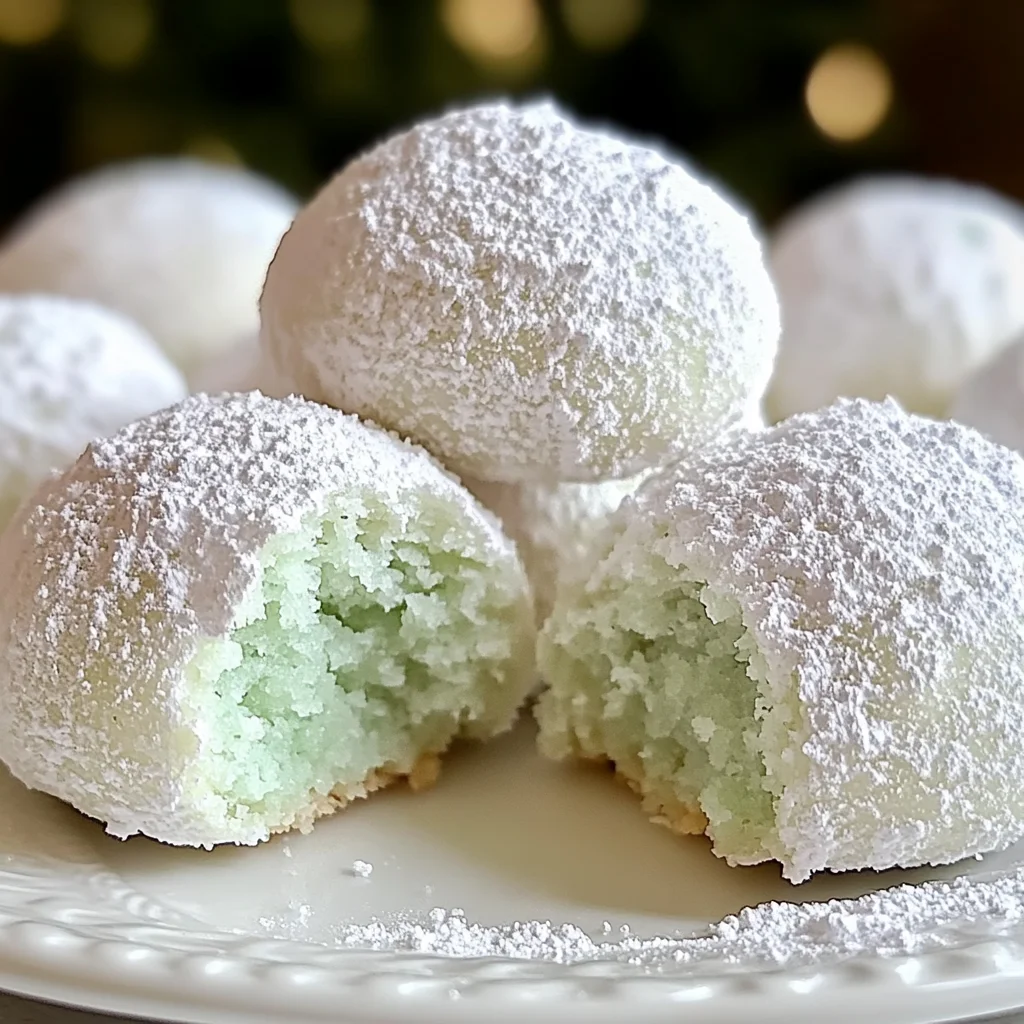
What makes these Minty Snowball Cookies truly special is their soft, melt-in-your-mouth texture and that refreshing mint flavor. Whether you’re planning dessert ideas for a gathering or just want a comforting snack during a busy week, this recipe fits the bill perfectly.
Why You’ll Love This Recipe
- Quick to prepare: With only a few steps, you can have a batch of cookies ready in no time!
- Family-approved: Kids and adults alike will love the sweet minty taste and fun appearance.
- Make ahead: These cookies keep well in an airtight container, making them great for meal prep.
- Versatile: Great for any occasion—holidays, parties, or a cozy night in with loved ones.
- Simple ingredients: Made with basic pantry staples you probably already have on hand.
Ingredients You’ll Need
Let’s gather some simple and wholesome ingredients to make these delightful Minty Snowball Cookies! You won’t need anything fancy—just good old-fashioned staples that create pure cookie magic.
- 1 cup unsalted butter, softened
- 1/2 cup powdered sugar
- 1 teaspoon peppermint extract
- A few drops of green food coloring (optional)
- 2 1/4 cups all-purpose flour
- 1/4 teaspoon salt
- 1 cup powdered sugar (for coating)
Variations
One of the best things about Minty Snowball Cookies is how flexible they are! Feel free to get creative with these variations:
- Add some nuts: Chopped pecans or walnuts can add a delightful crunch.
- Try different extracts: Swap peppermint for almond or vanilla extract for a unique twist.
- Make them chocolatey: Mix in cocoa powder for rich chocolate mint cookies.
- Change the color: Use different food coloring to match your seasonal celebrations!
How to Make Minty Snowball Cookies
Step 1: Cream the Butter and Sugar
Start by creaming together the softened unsalted butter and powdered sugar in a mixing bowl. This step is crucial because it incorporates air into the mixture, giving your cookies that lovely light texture. Beat them together until it’s fluffy and well combined—about 2 minutes should do it!
Step 2: Add Flavorings
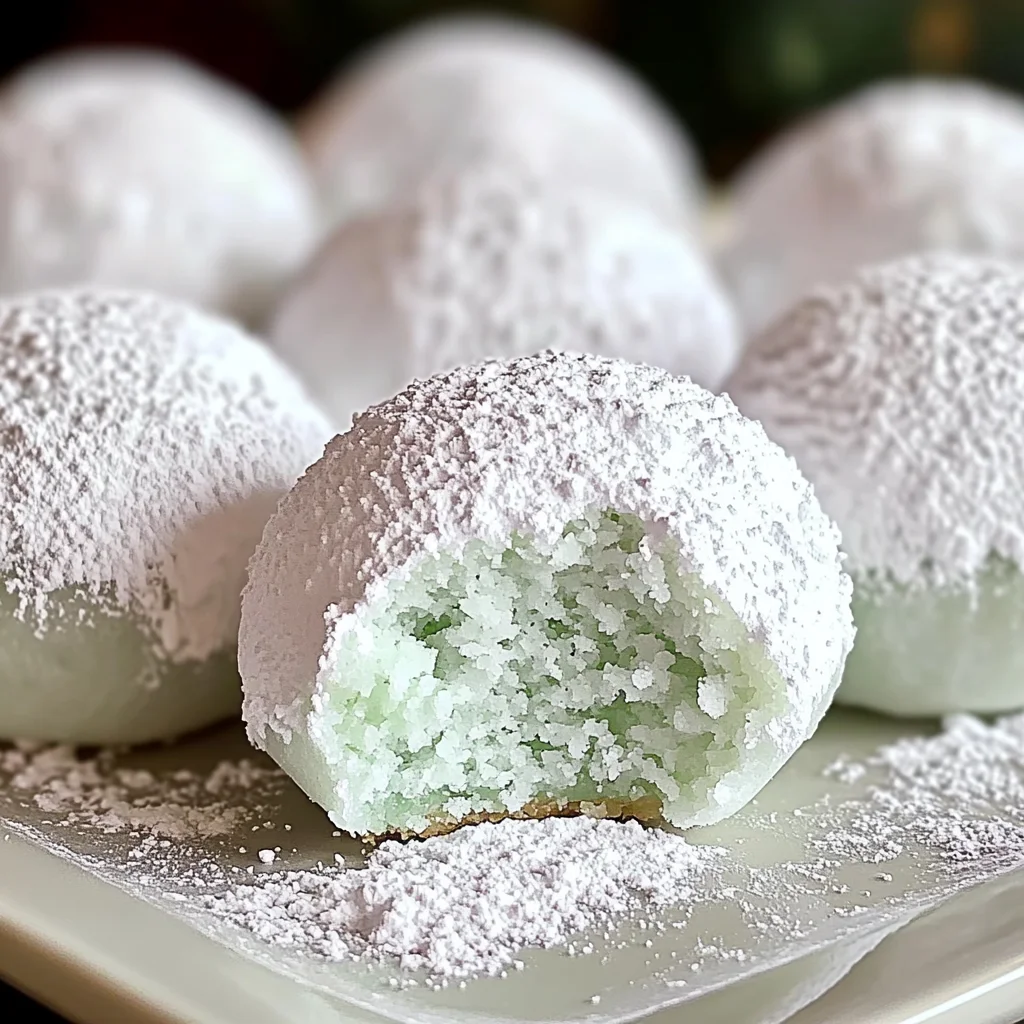
Next, mix in the peppermint extract and those optional drops of green food coloring if you’d like your cookies to have a festive touch. Stir until everything is evenly distributed. The smell will be so refreshing—it really sets the stage for what’s coming next!
Step 3: Combine Dry Ingredients
In another bowl, whisk together the all-purpose flour and salt. Gradually add this dry mixture to your butter mixture. Gently combine until just mixed; over-mixing can lead to tough cookies, which we definitely want to avoid!
Step 4: Shape the Cookies
Once your dough comes together, use your hands to form small balls—about an inch in diameter works well. Place them on a baking sheet lined with parchment paper. Remember, they will spread slightly as they bake, so give them some space!
Step 5: Bake Away!
Bake your cookies at 350°F (175°C) for about 12-15 minutes or until they’re set but not browned. Keep an eye on them; you want that perfect melt-in-your-mouth texture! Allow them to cool for a few minutes before transferring them to a wire rack.
Step 6: Coat in Sugar
Finally, roll each cooled cookie in powdered sugar until they’re fully coated. This final touch adds sweetness and makes them look like little snowballs—you’ll be amazed at how pretty they turn out!
And there you have it! A batch of Minty Snowball Cookies that’s sure to bring smiles all around. Enjoy every last crumb!
Pro Tips for Making Minty Snowball Cookies
Baking can be a delightful experience, and with these tips, you can ensure your Minty Snowball Cookies turn out perfectly every time!
- Use room temperature butter: Softened butter blends seamlessly with sugar, resulting in a smooth dough that bakes evenly. Cold butter can lead to dense cookies.
- Don’t skip the chilling step: After mixing your dough, refrigerate it for at least 30 minutes. This helps the cookies hold their shape during baking and enhances the flavors.
- Measure flour accurately: Spoon flour into your measuring cup and level it off with a knife. Too much flour can lead to dry cookies, while too little can make them too soft.
- Coat while warm: Roll your cookies in powdered sugar while they are still warm from the oven. This allows the sugar to stick better and creates that lovely snowy appearance.
- Experiment with flavors: While peppermint is classic, feel free to mix in other extracts or spices like vanilla or almond for a unique twist on this beloved cookie.
How to Serve Minty Snowball Cookies
These festive cookies are not only delicious but also visually appealing! Here are some fun ways to present them for any gathering or cozy night in.
Garnishes
- Crushed candy canes: Sprinkle some crushed candy canes on top of each cookie before serving for an extra touch of minty goodness.
- Chocolate drizzle: A light drizzle of melted chocolate over the cookies adds a rich contrast to their sweetness and makes them even more indulgent.
- Fresh mint leaves: Arrange a few fresh mint leaves around your cookie platter for a pop of color and freshness that complements the mint flavor.
Side Dishes
- Fruit salad: A refreshing fruit salad made with seasonal fruits like berries, kiwi, and citrus provides a light, healthy contrast to the rich cookies.
- Vanilla ice cream: Serve these cookies alongside a scoop of vanilla ice cream for an irresistible dessert combination that balances warm and cold textures.
- Hot chocolate: A cozy cup of homemade hot chocolate pairs perfectly with these sweet treats, enhancing their minty flavor while adding warmth on chilly evenings.
- Cheese platter: A simple cheese platter with mild cheeses can provide a savory balance to the sweetness of the cookies, making for an interesting contrast at gatherings.
With these ideas in hand, your Minty Snowball Cookies are sure to be a hit at any occasion! Happy baking!
Make Ahead and Storage
These Minty Snowball Cookies are perfect for meal prep! You can whip up a batch ahead of time and store them for later, making them an excellent choice for busy days or festive occasions.
Storing Leftovers
- Allow cookies to cool completely before storing.
- Place them in an airtight container at room temperature.
- They will stay fresh for up to one week.
Freezing
- To freeze, arrange the cookies in a single layer on a baking sheet.
- Freeze until solid, then transfer to a freezer-safe bag or container.
- Frozen cookies can be stored for up to three months.
Reheating
- For best results, let frozen cookies thaw at room temperature before serving.
- If desired, warm them in the oven at 300°F (150°C) for about 5-7 minutes to refresh their texture.
FAQs
If you have questions about making these delightful Minty Snowball Cookies, you’re not alone! Here are some common inquiries:
Can I use other extracts instead of peppermint?
Absolutely! While the focus keyphrase is Minty Snowball Cookies, you can swap peppermint extract for vanilla or almond extract if you prefer a different flavor profile.
How can I make Minty Snowball Cookies gluten-free?
You can substitute all-purpose flour with a gluten-free flour blend. Just ensure it’s suitable for baking to achieve the right texture.
How do I enhance the mint flavor in my Minty Snowball Cookies?
To amp up the minty flavor, consider adding more peppermint extract or using crushed mint candies as a topping after rolling the cookies in powdered sugar.
Final Thoughts
I hope you enjoy making these delightful Minty Snowball Cookies as much as I do! Their light, buttery texture paired with a refreshing hint of mint makes them truly special. Whether you’re sharing them with friends or enjoying them yourself, they are sure to bring joy. Happy baking!
Minty Snowball Cookies

Indulge in the delightful world of Minty Snowball Cookies, a sweet treat that captures the essence of festive joy with every bite. These cookies are incredibly easy to make and boast a melt-in-your-mouth texture combined with a refreshing mint flavor. Perfect for any occasion—be it holiday gatherings, cozy family nights, or simply treating yourself to something special—these cookies will fill your kitchen with a wonderful peppermint aroma. With simple ingredients and quick preparation, they’re sure to become a family favorite!
- Prep Time: 15 minutes
- Cook Time: 15 minutes
- Total Time: 30 minutes
- Yield: Approximately 24 cookies 1x
- Category: Dessert
- Method: Baking
- Cuisine: American
Ingredients
- 1 cup unsalted butter, softened
- 1/2 cup powdered sugar
- 1 teaspoon peppermint extract
- A few drops of green food coloring (optional)
- 2 1/4 cups all-purpose flour
- 1/4 teaspoon salt
- 1 cup powdered sugar (for coating)
Instructions
- Cream together softened butter and powdered sugar until light and fluffy.
- Mix in peppermint extract and optional food coloring until evenly distributed.
- In a separate bowl, whisk flour and salt; gradually combine with the butter mixture until just mixed.
- Form small balls of dough (about 1 inch) and place on a parchment-lined baking sheet.
- Bake at 350°F (175°C) for 12-15 minutes until set but not browned. Cool slightly before transferring to a wire rack.
- Roll each cooled cookie in powdered sugar to coat.
Nutrition
- Serving Size: 1 cookie (30g)
- Calories: 120
- Sugar: 8g
- Sodium: 50mg
- Fat: 7g
- Saturated Fat: 4g
- Unsaturated Fat: 3g
- Trans Fat: 0g
- Carbohydrates: 13g
- Fiber: <1g
- Protein: <1g
- Cholesterol: 15mg