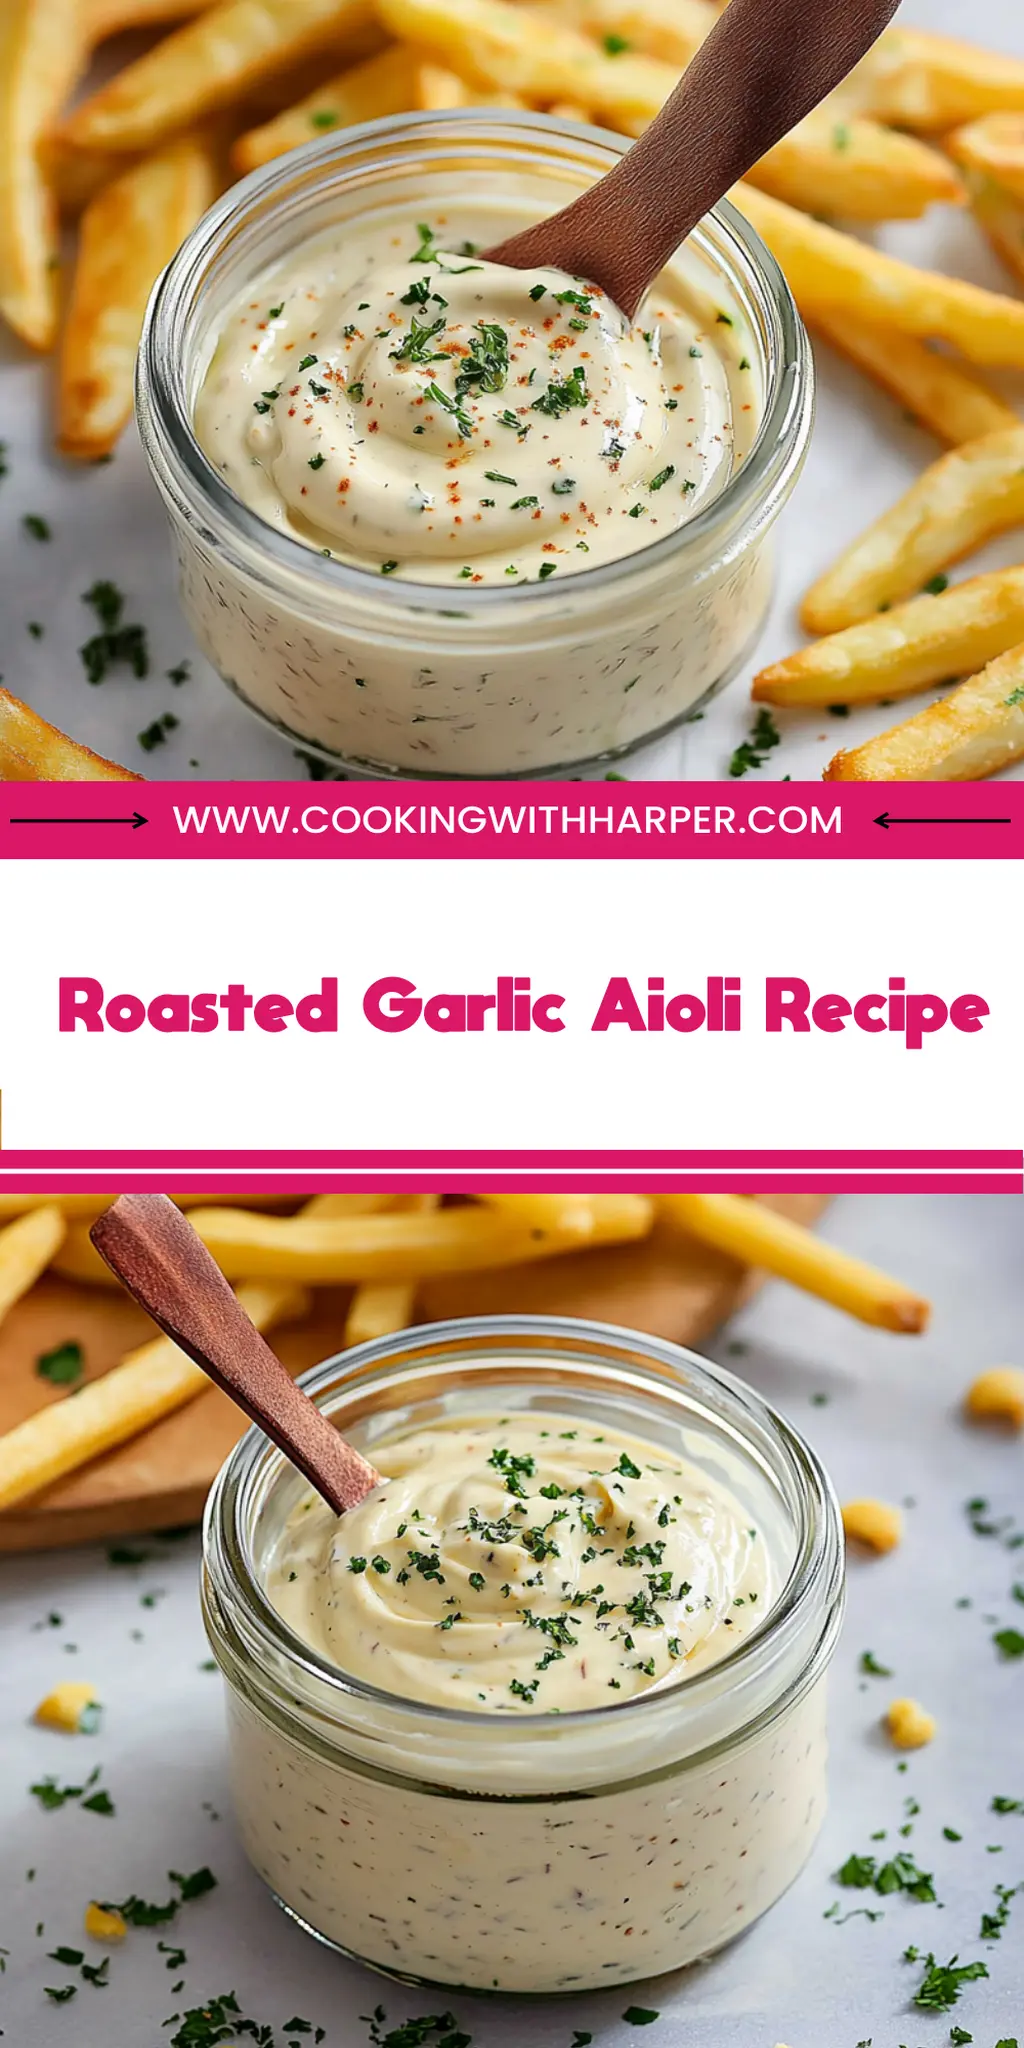
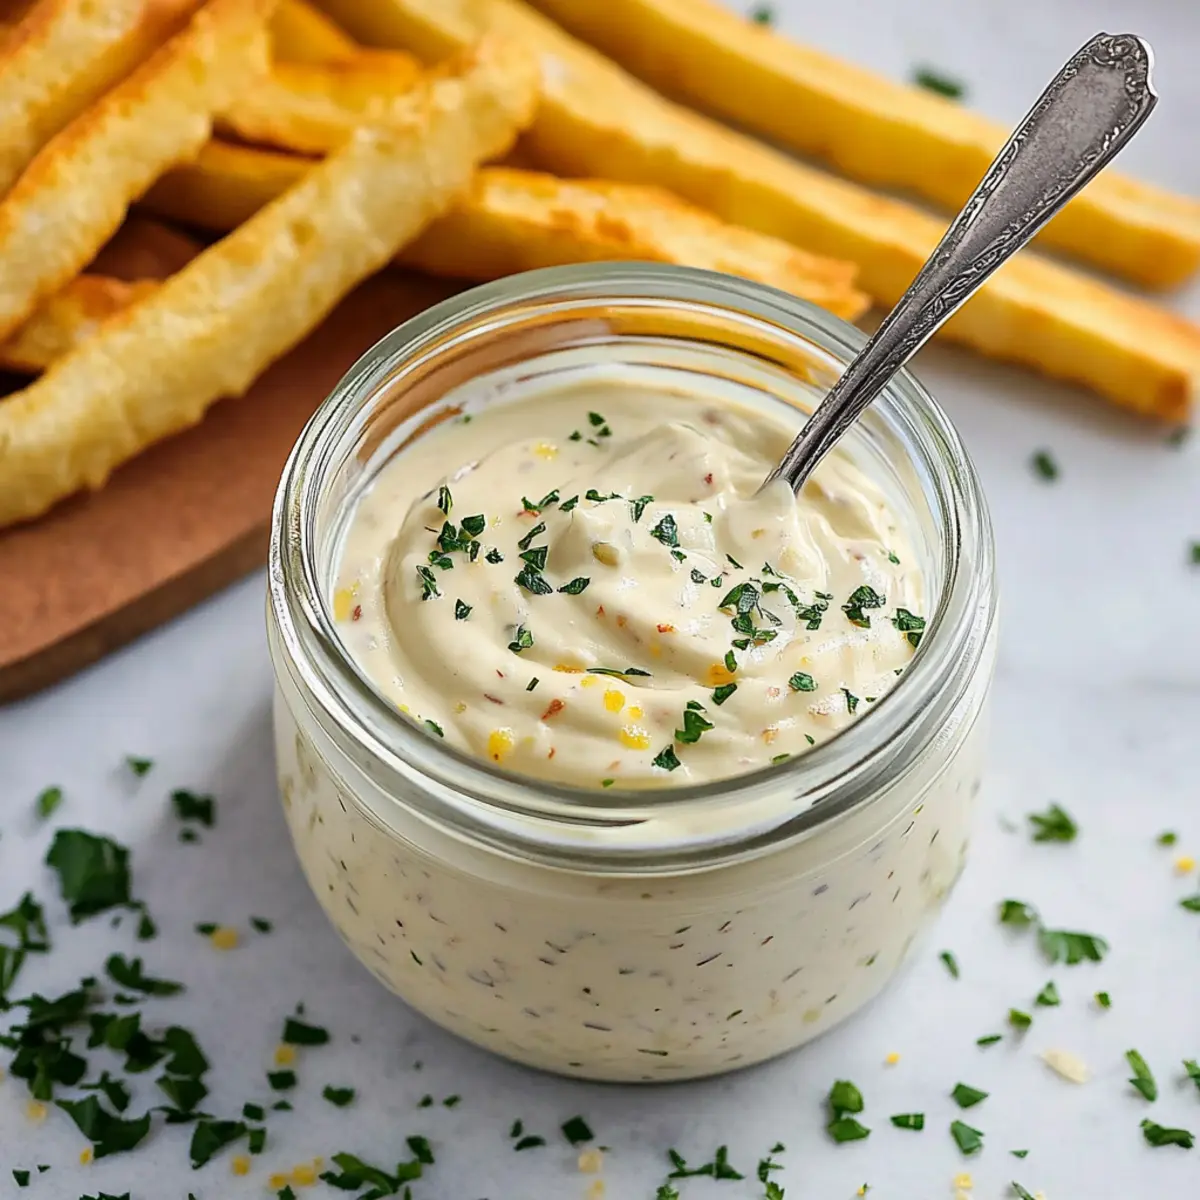
Easy Roasted Garlic Aioli Recipe for Flavorful Dipping Sauce
When you think about that perfect creamy dip that can elevate just about any dish, the first thing that likely comes to mind is this delicious and irresistible Roasted Garlic Aioli Recipe. Imagine the aroma of sweet, nutty roasted garlic wafting through your kitchen, blending seamlessly with a creamy, tangy base that’s just waiting to be slathered on everything from crispy fries to fresh veggies. This aioli isn’t just a condiment; it’s an experience that will make your taste buds dance with joy.
Picture this: you’re preparing dinner, and one whiff of that roasted garlic brings you back to your favorite little bistro where you first indulged in the divine flavor combination. Whether it’s a cozy family gathering, a spontaneous game night with friends, or just a treat for yourself after a long day, this aioli will be your go-to partner in crime for flavor enhancement and culinary delight. Trust me, it’ll take mere minutes to whip up, and the taste will be nothing short of extraordinary.
Why You'll Love This Roasted Garlic Aioli Recipe
- This incredible Roasted Garlic Aioli Recipe transforms simple everyday ingredients into restaurant-quality flavors that will blow your mind completely.
- Foolproof recipe techniques guarantee perfect results every single time, making even novice cooks feel like professional chefs instantly.
- Stunning visual appeal with gorgeous colors and mouthwatering aromas creates the ultimate Instagram-worthy dish for any special occasion.
- Endlessly adaptable for different dietary needs while working beautifully for meal prep, date nights, or entertaining large groups effortlessly.
Ingredients for Roasted Garlic Aioli Recipe
Here’s what you’ll need to make this delicious Roasted Garlic Aioli Recipe:
1 head garlic – Choose a firm, dry head of garlic since it provides the best flavor when roasted.
1 tablespoon olive oil – Use a good quality extra virgin olive oil for richer flavor.
½ cup mayonnaise – Regular mayonnaise works perfectly; for a lighter twist, use Greek yogurt.
1 tablespoon lemon juice – Freshly squeezed lemon juice brightens the flavors; avoid bottled for the best taste.
½ teaspoon Dijon mustard – Adds a subtle tang; opt for whole grain for added texture.
Salt and pepper, to taste – Essential for seasoning; adjust based on personal preference.
Parsley or chives, chopped (for garnish) – Fresh herbs add a pop of color and flavor.
How to Make Roasted Garlic Aioli Recipe
Follow these simple steps to prepare this delicious Roasted Garlic Aioli Recipe:
Step 1: Preheat the Oven
Set your oven to 400°F (200°C) to prepare for the magic of roasting garlic.
Step 2: Prepare the Garlic
Peel away the outer layers of the garlic bulb carefully without separating the cloves. Slice off the top to expose the tops of the cloves, like giving them a little haircut for the roasting process.
Step 3: Roast the Garlic
Place the bulb on a sheet of aluminum foil, drizzle with olive oil, and wrap it tightly like a cozy blanket. Toss it into your preheated oven and roast for 30-40 minutes until the cloves are soft and golden brown, filling your kitchen with an enticing aroma.
Step 4: Extract the Roasted Garlic
Once roasted, remove the garlic from the oven and let it cool slightly so you don’t burn your fingers. Squeeze the creamy roasted garlic cloves out of their skins into a small bowl and give yourself a pat on the back for creating something magical.
Step 5: Mix the Ingredients
Mash the roasted garlic cloves with a fork until they are creamy and smooth. In another bowl, combine the mashed garlic with mayonnaise, lemon juice, and Dijon mustard. Stir well to blend evenly.
Step 6: Season the Aioli
Add salt and pepper to taste, adjusting the seasoning to find that perfect balance of flavors. For an extra touch, stir in or sprinkle some chopped parsley or chives for color and freshness.
Transfer the aioli to a container, cover it up, and refrigerate for at least 30 minutes to meld all those beautiful flavors together. Now it’s ready to serve with anything your heart desires, from fresh veggies to grilled meats and everything in between.
With this Roasted Garlic Aioli Recipe tucked away in your culinary arsenal, you are prepared to elevate any meal into a sensational feast. So go ahead, make a batch, and watch as family and friends rave about your culinary prowess while savoring every luscious bite!
This showstopping Roasted Garlic Aioli Recipe delivers restaurant-quality results using simple ingredients you probably already have at home. The perfect balance of textures and flavors creates an unforgettable dining experience that will have everyone asking for seconds. Picture-perfect presentation with vibrant colors makes this dish absolutely Instagram-worthy and guaranteed to impress any dinner guest. Incredibly versatile recipe that works beautifully for weeknight dinners, meal prep, special occasions, or even outdoor entertaining sessions.
Perfecting Roasted Garlic Aioli Recipe Cooking Process
Start by roasting the garlic while you prep your other ingredients. This allows the garlic to cool slightly before you mash it, ensuring a creamy consistency. Make the aioli while waiting for the garlic, so everything comes together smoothly and quickly.
Add Your Touch to Roasted Garlic Aioli Recipe
Feel free to swap out the mayonnaise for Greek yogurt for a lighter version or add some spice with cayenne pepper. You can also experiment with different herbs like dill or basil for a unique twist that reflects your taste.
Storing & Reheating Roasted Garlic Aioli Recipe
Store your roasted garlic aioli in an airtight container in the refrigerator for up to one week. For a quick refresh, give it a good stir before serving, but it’s best enjoyed cold or at room temperature for maximum flavor.
Chef's Helpful Tips for Roasted Garlic Aioli Recipe
- This professional-quality Roasted Garlic Aioli Recipe relies on precise timing and temperature control to achieve restaurant-standard results consistently.
- Master the art of mise en place by prepping all ingredients beforehand, ensuring smooth execution and preventing any last-minute cooking disasters.
- The secret lies in layering flavors throughout the cooking process rather than seasoning only at the end for maximum depth.
- Pro tip: let the finished dish rest for optimal texture and flavor development before serving to hungry guests waiting eagerly.
There was this one dinner gathering when I whipped up this roasted garlic aioli as a last-minute addition to my grilled vegetable platter. My friends raved about it, and I smiled at the empty bowl, realizing that sometimes the simplest recipes can bring the most joy.
FAQs About Roasted Garlic Aioli Recipe
What is Roasted Garlic Aioli Recipe?
Roasted Garlic Aioli Recipe is a simple yet delicious condiment made from roasted garlic, mayonnaise, and a touch of lemon juice. This creamy dip brings a rich, savory flavor that elevates any dish, from grilled meats to fresh vegetables. The roasting process softens the garlic’s sharpness, resulting in a sweet and buttery essence. Whether you’re serving it as a dip or a spread, this aioli adds a gourmet touch to your meals, making it a favorite among food lovers.
How can I use Roasted Garlic Aioli?
Roasted Garlic Aioli is incredibly versatile, making it an excellent accompaniment for various dishes. You can serve it as a dipping sauce for crispy fries, veggie platters, or even grilled meats. It also works wonderfully as a spread on sandwiches, burgers, or wraps, enhancing their flavor with its rich and creamy texture. Additionally, consider using it as a salad dressing base or drizzling it over roasted vegetables to give them an extra punch of flavor.
Can I make Roasted Garlic Aioli in advance?
Absolutely! In fact, making Roasted Garlic Aioli in advance allows the flavors to meld beautifully. You can prepare it a day ahead and store it in an airtight container in the refrigerator. Just make sure to let it sit at room temperature for a bit before serving, as chilling may thicken the aioli slightly. This resting time helps to revive its creamy consistency, making it even tastier when you finally serve it at your gathering or dinner.
How long does Roasted Garlic Aioli last?
When stored properly in an airtight container, Roasted Garlic Aioli can last up to one week in the refrigerator. Over time, it may lose some freshness, so it’s best enjoyed within the first few days. Just give it a stir before serving again, and if you’re serving it at a gathering, consider transferring it to a smaller dish to keep it looking fresh and appetizing throughout the meal.
Conclusion for Roasted Garlic Aioli Recipe
In conclusion, the Roasted Garlic Aioli Recipe is not just a dip but a flavorful game changer for any meal. Its creamy consistency and rich, roasted garlic flavor make it a go-to condiment for enhancing your favorite dishes. Whether used as a dip or a spread, this versatile recipe easily adapts to any gathering or casual dinner. Why not give it a try and enjoy the culinary magic that comes from this easy and delicious aioli?
Easy Roasted Garlic Aioli Recipe for Flavorful Dipping Sauce
Ingredients
Equipment
Method
- Set your oven to 400°F (200°C) to prepare for roasting the garlic.
- Peel away the outer layers of the garlic bulb without separating the cloves. Slice off the top to expose the tops of the cloves. Place the bulb on a piece of aluminum foil, drizzle with olive oil, and wrap tightly.
- Roast the foil-wrapped garlic in the preheated oven for 30-40 minutes until cloves are soft and golden brown.
- Remove garlic from oven and allow it to cool slightly. Squeeze the roasted garlic cloves out of their skins into a small bowl.
- Mash the roasted garlic cloves with a fork until creamy and smooth.
- In a separate bowl, mix the mashed garlic with mayonnaise, lemon juice, and Dijon mustard. Stir well to blend evenly.
- Add salt and pepper to taste, adjusting the seasoning as needed to balance flavor.
- Optionally, stir in or sprinkle chopped parsley or chives for color and fresh flavor.
- Transfer the aioli to a container, cover, and refrigerate for at least 30 minutes to meld the flavors.