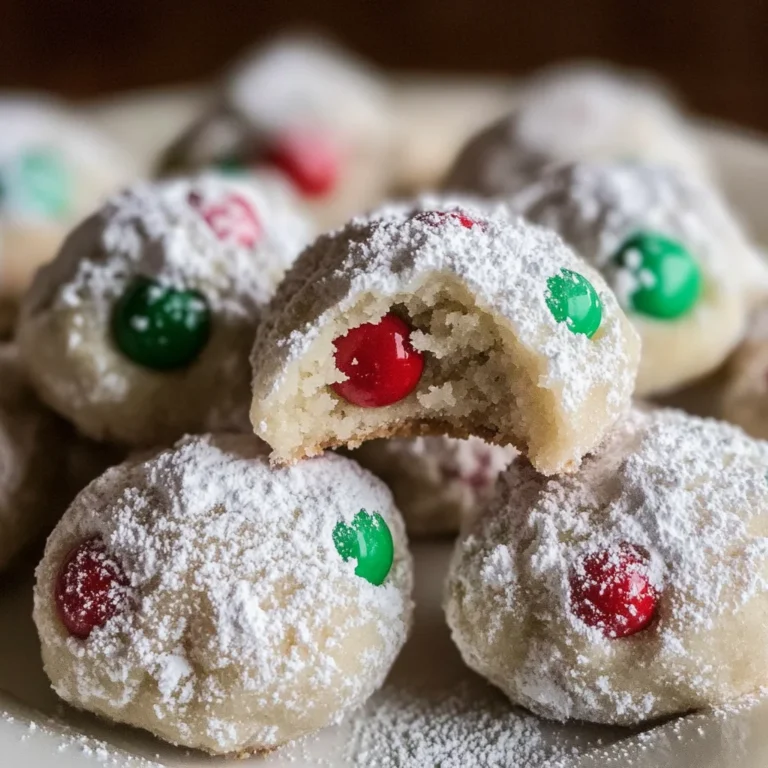
Delicious Snowflake Cookie Recipe for Your Holiday Baking
The holiday season is upon us, and what better way to celebrate than with a delightful Snowflake Cookie Recipe that captures the magic of winter? These charming cookies not only look as enchanting as freshly fallen snow, but they also offer a blend of buttery, sweet goodness that can warm even the coldest of nights. As you open your oven to reveal these whimsical creations, the aroma will transport you to a cozy kitchen where laughter and love swirl in the air, making this the perfect treat for family gatherings.
Every bite of these snowflake wonders reminds us of childhood joy and the excitement of baking with loved ones. Whether adorned with shimmering powdered sugar or left simple, they’re versatile enough to fit any festive table. Trust me, these cookies are not just a treat; they’re a celebration waiting to happen!
Why You'll Love This Snowflake Cookie Recipe
- This incredible Snowflake Cookie Recipe transforms simple everyday ingredients into restaurant-quality flavors that will blow your mind completely.
- Foolproof recipe techniques guarantee perfect results every single time, making even novice cooks feel like professional chefs instantly.
- Stunning visual appeal with gorgeous colors and mouthwatering aromas creates the ultimate Instagram-worthy dish for any special occasion.
- Endlessly adaptable for different dietary needs while working beautifully for meal prep, date nights, or entertaining large groups effortlessly.
Ingredients for Snowflake Cookie Recipe
Here’s what you’ll need to make this delicious Snowflake Cookie Recipe:
2 cups all-purpose flour – This is the backbone of your cookies providing structure and stability. Make sure to fluff it up before measuring to get the perfect amount.
1/2 teaspoon salt – A little bit of salt enhances the sweet flavor, balancing out the rich buttery taste.
1 cup unsalted butter, softened – Choose good quality butter for the richest flavor. Remember, room temperature butter is key for the perfect texture.
1 large egg – This will bind your ingredients together, giving the cookie a lovely texture.
1 teaspoon vanilla extract – For that delightful aromatic flavor that makes cookies irresistible.
1/4 teaspoon almond extract (optional) – This adds a subtle warmth and depth to your cookies. It’s optional, but highly recommended!
1/2 cup powdered sugar (plus extra for dusting) – Adds sweetness and a creamy texture to the dough, with more for a snowy finish.
1/4 cup granulated sugar – For that perfect balance of sweetness and a little crunch on the outside of each cookie.
How to Make Snowflake Cookie Recipe
Follow these simple steps to prepare this delicious Snowflake Cookie Recipe:
Step 1: Cream the Buttery Goodness
In a large bowl, using a hand mixer or stand mixer, cream together the softened butter, granulated sugar, and powdered sugar on medium speed until light and fluffy, approximately 3 minutes. The mixture should feel like a cloud! Then, add the egg, vanilla extract, and almond extract (if using). Beat this delightful medley until it’s fully combined and smells heavenly.
Step 2: Combine the Dry and Wet Ingredients
In a separate bowl, whisk together your all-purpose flour and salt. Gradually add this dry mixture into the wet ingredients while mixing on low speed. Keep things gentle — we don’t want dough that has been overworked. You’ll know it’s ready when a smooth, soft dough forms that you can almost daydream about.
Step 3: Chill Out
Divide your cookie dough into two equal portions and flatten each into a disc shape. Wrap them in plastic wrap and pop them into the refrigerator for at least 1 hour. This is where patience pays off—chilling helps the cookies maintain their shape while baking.
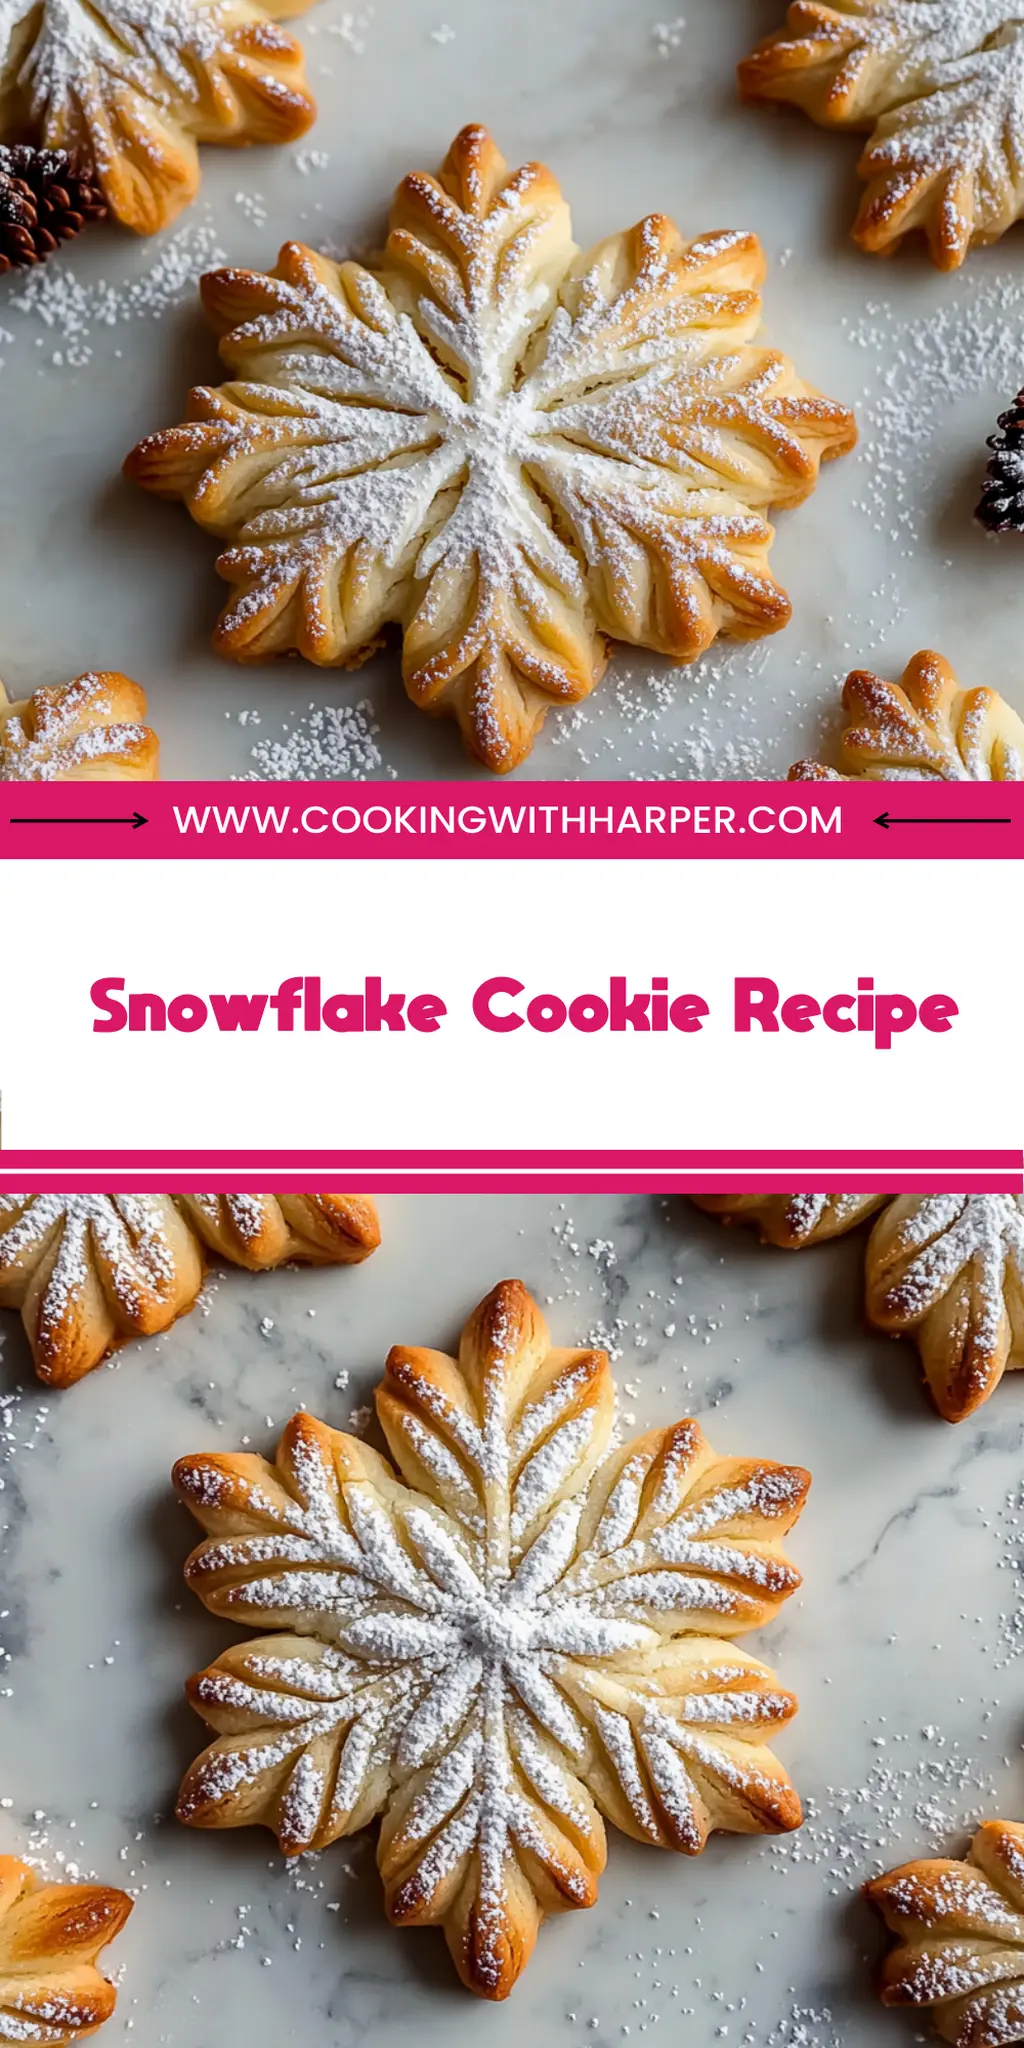
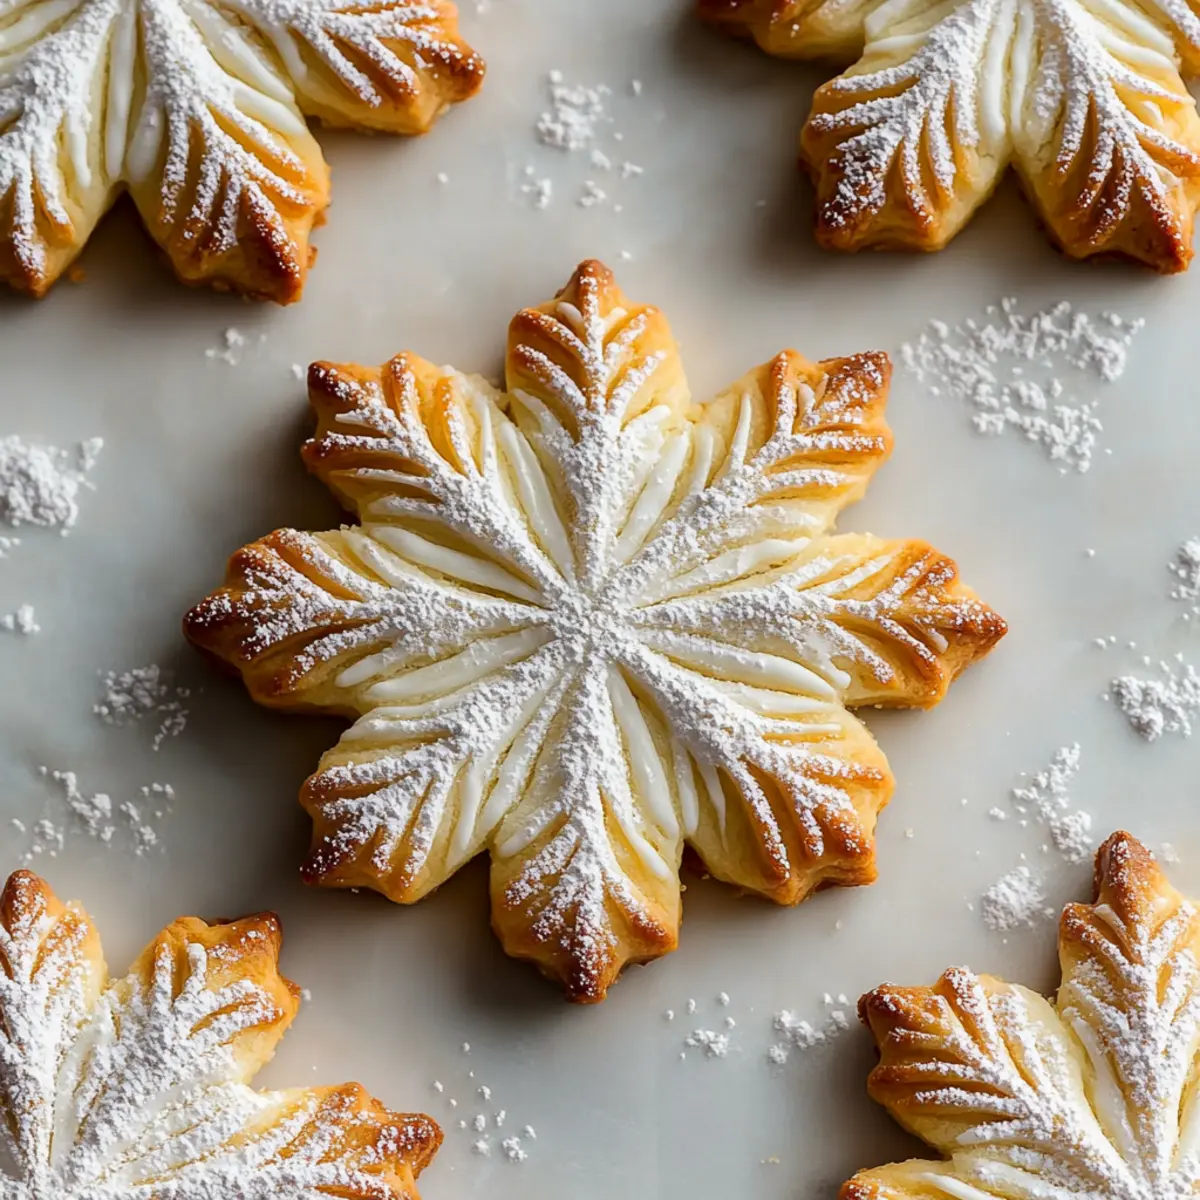
Step 4: Shape Your Snowflakes
On a lightly floured surface, roll out one disc of chilled dough to about 1/4-inch thickness. Use a round cookie cutter to create circles, then mark six evenly spaced points around the edge of each circle with a knife or toothpick. Gently pinch at each point to form beautiful snowflake arms! Want to get fancy? Mark seven segments instead of six for a unique seven-pointed snowflake.
Step 5: Bake to Perfection
Preheat your oven to 350°F (175°C) and prepare your baking sheets with parchment paper. Carefully arrange the shaped cookies about 2 inches apart to give them room to spread out. Bake for 10 to 12 minutes, or until the edges are lightly golden, nurturing that enticing aroma which fills your kitchen with joy.
Step 6: Cool and Dust
Once the cookies are baked to perfection, transfer them to wire racks and allow them to cool completely. Once cooled, dust them lightly with powdered sugar for that magical snow-capped look. You can serve them right away, or store them for future enjoyment.
Now, grab a cup of hot cocoa, gather around the table, and indulge in the festive cheer these Snowflake Cookies bring! They’re not just sweets; they’re filled with memories waiting to be made, laughter echoing through the kitchen, and the warmth of family and friends by your side. Enjoy every delightful bite!
Happy baking, and may your kitchen smell like a winter wonderland!
This showstopping Snowflake Cookie Recipe delivers restaurant-quality results using simple ingredients you probably already have at home. The perfect balance of textures and flavors creates an unforgettable dining experience that will have everyone asking for seconds. Picture-perfect presentation with vibrant colors makes this dish absolutely Instagram-worthy and guaranteed to impress any dinner guest. Incredibly versatile recipe that works beautifully for weeknight dinners, meal prep, special occasions, or even outdoor entertaining sessions.
Perfecting Snowflake Cookie Recipe Cooking Process
Start by creaming your butter and sugars for a fluffy base. Once combined, incorporate the wet ingredients and then fold in the dry mix gradually to avoid overworking the dough. Chill the dough well before cutting to ensure crisp edges during baking.
Add Your Touch to Snowflake Cookie Recipe
Feel free to swap out almond extract for other flavors like peppermint or hazelnut. You can add colorful sprinkles for a festive touch or even drizzle melted chocolate on top after baking for an indulgent finish.
Storing & Reheating Snowflake Cookie Recipe
Store your cookies in an airtight container at room temperature for up to a week. For longer shelves, consider freezing them and simply thaw before serving, ensuring they retain their delightful texture.
Chef's Helpful Tips for Snowflake Cookie Recipe
- This professional-quality Snowflake Cookie Recipe relies on precise timing and temperature control to achieve restaurant-standard results consistently.
- Master the art of mise en place by prepping all ingredients beforehand, ensuring smooth execution and preventing any last-minute cooking disasters.
- The secret lies in layering flavors throughout the cooking process rather than seasoning only at the end for maximum depth.
- Pro tip: let the finished dish rest for optimal texture and flavor development before serving to hungry guests waiting eagerly.
Growing up, my grandmother would whip up a batch of snowflake cookies every Christmas. The smell of vanilla wafting through the house was as magical as the cookies themselves, and they always brought us together.
FAQs About Snowflake Cookie Recipe
What is Snowflake Cookie Recipe?
The Snowflake Cookie Recipe is a delightful holiday treat that brings a whimsical touch to any gathering. These cookies are characterized by their intricate snowflake designs, light, and buttery texture, making them perfect for festive occasions. The dough is easy to make, featuring simple ingredients like flour, butter, and sugar, and can be customized with various extracts or toppings. With their airy quality, these cookies are not just visually stunning but also deliciously addictive.
How can I customize the Snowflake Cookie Recipe?
You can personalize the Snowflake Cookie Recipe in numerous ways. For instance, consider swapping almond extract with peppermint for a refreshing twist or adding colorful sprinkles to make them more festive. Drizzling melted chocolate on top post-baking adds decadence, while using flavored icing to decorate can elevate their appearance. Feel free to get creative with flavors and decorations; the options are virtually endless!
How do I store my Snowflake Cookies?
To maintain their freshness, store your Snowflake Cookies in an airtight container at room temperature, and they should last for about a week. If you want to keep them longer, consider freezing the cookies before decorating. Just remember to thaw them completely before serving. Proper storage ensures that these delightful treats remain as tasty and charming as the day you made them.
Can I make Snowflake Cookies ahead of time?
Absolutely! The Snowflake Cookie Recipe is perfect for making in advance. You can prepare the dough a few days ahead and chill it, or even bake the cookies and store them in an airtight container. This makes them convenient for holiday parties and gatherings. Just dust with powdered sugar or decorate right before serving for optimal freshness and presentation.
Conclusion for Snowflake Cookie Recipe
The Snowflake Cookie Recipe is a festive and fun addition to your holiday baking repertoire. Featuring simple ingredients and versatile customization options, these cookies are not only visually appealing but also a delightful treat loved by all. From making the fluffy dough to adding your personal touch with decorations, every step contributes to a memorable culinary experience. So gather your loved ones, embrace the joy of baking, and enjoy making these charming cookies that capture the essence of the season!
Delicious Snowflake Cookie Recipe for Your Holiday Baking
Ingredients
Equipment
Method
- Cream together the softened butter, granulated sugar, and powdered sugar in a large bowl using a hand mixer or stand mixer on medium speed until light and fluffy, approximately 3 minutes. Then add the egg, vanilla extract, and almond extract if using, beating until fully combined.
- In a separate bowl, whisk together the all-purpose flour and salt. Gradually add this dry mixture to the wet ingredients while mixing on low speed. Mix just until a smooth dough forms, making sure not to overmix.
- Divide the dough evenly into two portions. Flatten each into a disc shape, wrap in plastic wrap, and refrigerate for at least 1 hour to firm up.
- On a lightly floured surface, roll out one disc of chilled dough to about 1/4-inch thickness. Cut out circles using a round cookie cutter. Mark six evenly spaced points around the edge of each circle with a knife or toothpick, then gently pinch at each point to form snowflake arms.
- For a variation, mark the edges of the dough circles into seven segments instead of six and pinch each segment for a seven-pointed snowflake shape.
- Preheat the oven to 350°F (175°C) and prepare baking sheets lined with parchment paper. Arrange the shaped cookies about 2 inches apart. Bake for 10 to 12 minutes, or until the edges are lightly golden.
- Transfer the cookies to wire racks and allow to cool completely. Once cooled, dust lightly with powdered sugar before serving or storing.