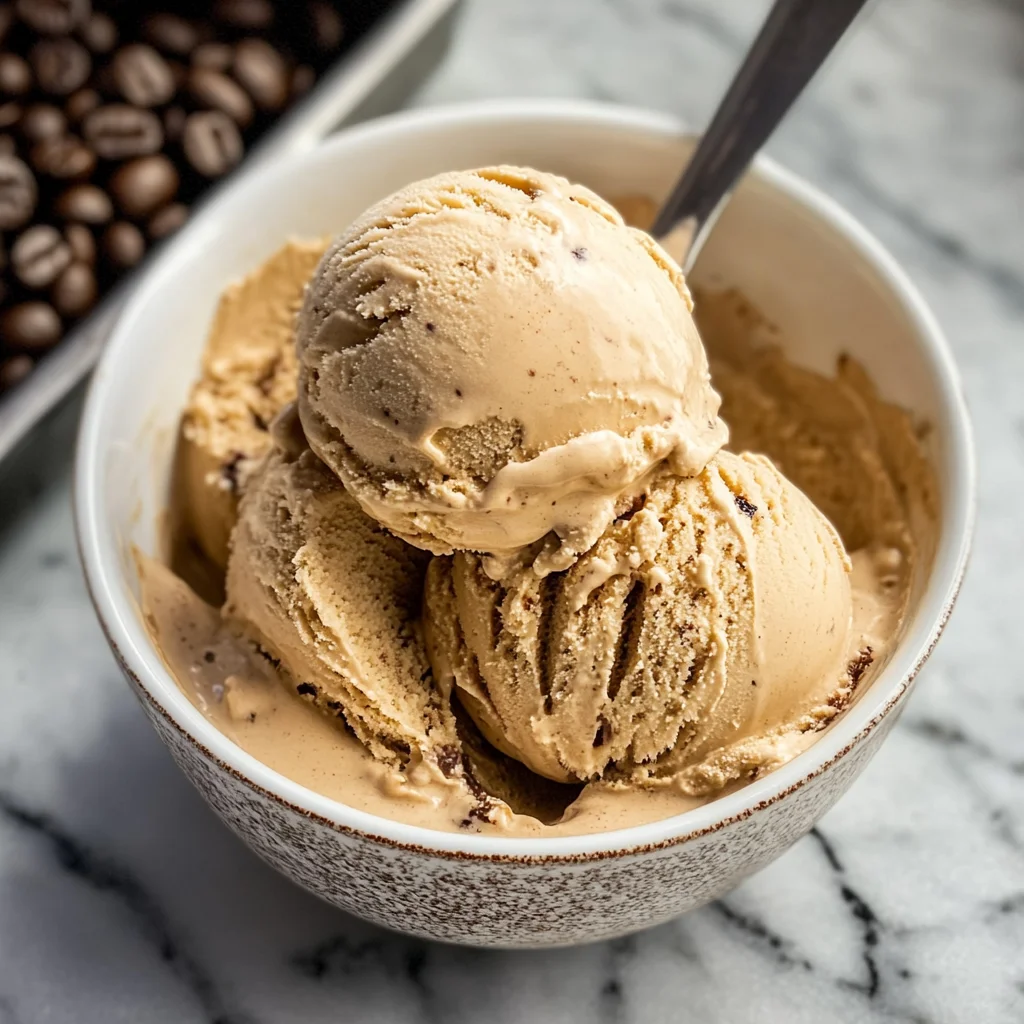
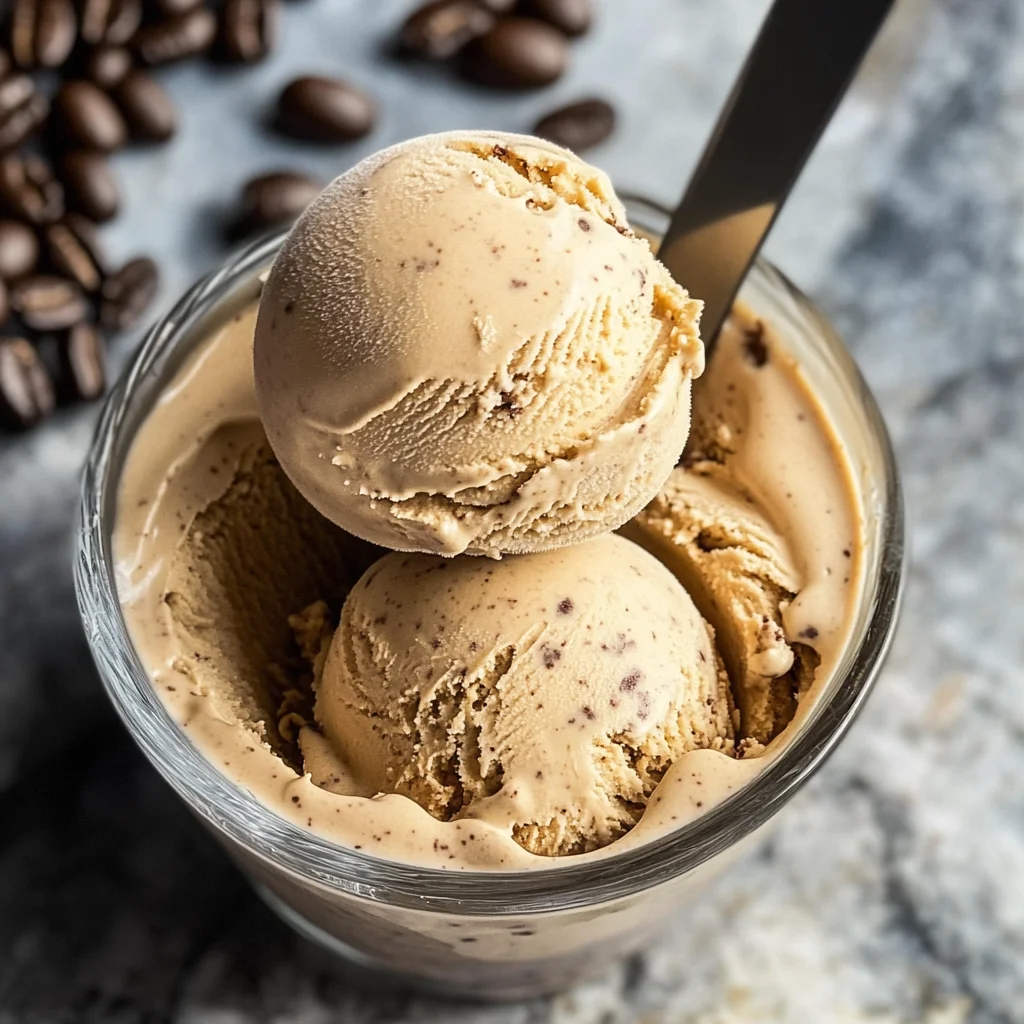
Coffee Ice Cream
If you’re looking for a delightful way to enjoy your favorite coffee flavor, this Coffee Ice Cream is just what you need! It’s rich, smooth, and creamy, making it a perfect treat for warm days or cozy evenings. Whether it’s a family gathering or a quiet night in, this homemade ice cream is sure to impress everyone. Plus, with only six simple ingredients and just 20 minutes of prep time, you’ll find yourself making this recipe again and again!
This Coffee Ice Cream not only satisfies your sweet tooth but also brings that wonderful café experience right to your kitchen. Imagine scooping into a bowl, letting the cool creaminess melt on your tongue while the coffee flavor dances in your mouth. It’s truly special, and I can’t wait for you to try it!
Why You’ll Love This Recipe
- Easy to Make: With just six ingredients, this recipe is straightforward and quick to whip up.
- Family-Friendly: Kids and adults alike will love this creamy treat; it’s a hit at any gathering!
- Make Ahead: You can prepare it in advance and have delicious homemade ice cream ready whenever you want.
- Customizable Sweetness: Adjust the sugar to suit your taste—perfect for everyone’s preferences.
- Rich Flavor: The combination of coffee and vanilla creates an indulgent dessert that feels like a special treat.
Ingredients You’ll Need
For this delightful Coffee Ice Cream, we’re using some simple and wholesome ingredients that you probably already have in your pantry. Each one plays an important role in creating that rich and creamy texture we all love.
For the Base
- 1½ cups heavy whipping cream
- 1½ cups whole milk
- ¾-1 cup granulated sugar (use more or less according to your tastes)
- 4 egg yolks
For Flavor
- 1 tablespoon instant coffee or espresso powder
- 1 tablespoon vanilla extract
Variations
One of the best things about this Coffee Ice Cream recipe is its flexibility! Feel free to get creative with different flavors and add-ins to make it uniquely yours.
- Add Chocolate Chips: Stir in some mini chocolate chips during churning for a delightful chocolate-coffee combo.
- Make It Mocha: Mix in a touch of cocoa powder along with the coffee for a mocha-flavored twist.
- Try Different Extracts: Experiment with almond or hazelnut extract instead of vanilla for an exciting flavor change.
- Incorporate Nuts: Toss in some chopped nuts like pecans or walnuts before freezing for added crunch.
How to Make Coffee Ice Cream
Step 1: Prepare Your Ice Cream Maker
Before you start mixing your ingredients, make sure to freeze your ice cream maker bowl according to the manufacturer’s instructions. This step ensures that your mixture will freeze properly when you’re ready to churn it.
Step 2: Combine Ingredients
In a large saucepan, whisk together the heavy whipping cream, whole milk, granulated sugar, egg yolks, and instant coffee until smooth. This blending is crucial as it combines all the flavors into a delicious base.
Step 3: Cook Until Thickened
Place the saucepan over medium heat and cook while whisking constantly. You’re looking for the mixture to thicken slightly—it should coat the back of a spoon but not be as thick as pudding. Once it reaches that point, stir in the vanilla extract for an extra layer of flavor.
Step 4: Chill Your Mixture
Pour your mixture into a large glass measuring cup or bowl. To prevent a skin from forming on top as it cools, press plastic wrap directly against the surface. Refrigerate until completely cold—if you’re short on time, pop it into the freezer and stir every 10 minutes until chilled.
Step 5: Churn the Ice Cream
Once chilled, pour the mixture into your ice cream maker and churn according to the manufacturer’s instructions for about 20-30 minutes until you reach a soft serve consistency. This step incorporates air into the mixture, giving it that light texture we love.
Step 6: Freeze Until Firm
Transfer the soft ice cream into a glass loaf pan or baking dish. Cover with plastic wrap or a lid and freeze until firm—this usually takes about 4-6 hours.
Step 7: Serve & Enjoy!
When you’re ready to indulge in your homemade Coffee Ice Cream, let it sit at room temperature for about 5-10 minutes before serving. This little wait makes scooping much easier! If you have leftovers (which is rare!), cover them tightly with plastic wrap and store them in the freezer for up to three months.
Now you’re all set to enjoy this luscious Coffee Ice Cream! It’s perfect for those moments when you want something sweet but still comforting—just like having dessert at home!
Pro Tips for Making Coffee Ice Cream
Making your own coffee ice cream is a delightful experience, and a few simple tips can elevate your creation to the next level!
- Use Fresh Ingredients: Fresh heavy cream and whole milk enhance the creaminess and flavor of your ice cream. It’s worth it to splurge on quality ingredients for the best results.
- Chill Your Mixture: Ensuring your base is completely cold before churning helps achieve a smoother texture. A cold mixture churns faster, creating smaller ice crystals and resulting in a velvety finish.
- Adjust Coffee Strength: Depending on how bold you like your coffee flavor, you can adjust the amount of instant coffee or espresso powder. Start with less and add more to suit your taste preferences.
- Don’t Rush Freezing: Allowing the ice cream to freeze fully after churning is key to achieving that perfect scoopable consistency. Patience pays off here!
- Store Properly: To keep your ice cream fresh and prevent freezer burn, cover it tightly with plastic wrap or store it in an airtight container. This keeps it creamy and delicious for longer!
How to Serve Coffee Ice Cream
Serving coffee ice cream can be as fun as making it! Here are some creative ideas to present this delightful dessert.
Garnishes
- Chocolate Shavings: A sprinkle of chocolate shavings adds a touch of elegance and pairs beautifully with the coffee flavor.
- Whipped Coconut Cream: A dollop of whipped coconut cream offers a dairy-free option that enhances the richness without overpowering the coffee taste.
Side Dishes
- Almond Biscotti: Crunchy almond biscotti make for a perfect accompaniment, providing texture contrast and complementing the coffee notes.
- Fresh Berries: Strawberries or raspberries add a refreshing burst of flavor that balances out the richness of the ice cream.
- Chocolate Sauce: Drizzling warm chocolate sauce over a scoop transforms your dessert into an indulgent treat, making each bite even more decadent.
With these tips and serving ideas, you’re all set to impress friends and family with your homemade coffee ice cream! Enjoy every creamy bite!
Make Ahead and Storage
This Coffee Ice Cream is perfect for meal prep! You can whip up a batch ahead of time and store it in your freezer for a delightful treat whenever you crave something sweet and refreshing.
Storing Leftovers
- Transfer any leftover coffee ice cream into an airtight container.
- Seal it tightly to prevent ice crystals from forming.
- Store in the freezer for up to 3 months.
Freezing
- After churning, pour the ice cream into a glass loaf pan or baking dish.
- Cover the top with plastic wrap or parchment paper to maintain its texture.
- Freeze until firm, about 4-6 hours.
Reheating
- This coffee ice cream is best served frozen. However, if it’s too hard, let it sit at room temperature for 5-10 minutes before scooping.
- Avoid microwaving as it may alter the texture.
FAQs
Here are some common questions you might have about this delicious Coffee Ice Cream recipe.
Can I make Coffee Ice Cream without an ice cream maker?
Yes! If you don’t have an ice cream maker, pour the mixture into a shallow dish and freeze. Stir every 30 minutes until creamy.
What makes this Coffee Ice Cream so creamy?
The combination of heavy whipping cream and whole milk creates a rich base, while the egg yolks add extra creaminess and stability.
How long does homemade Coffee Ice Cream last?
Homemade Coffee Ice Cream can be stored in the freezer for up to 3 months when properly sealed in an airtight container.
Can I adjust the sweetness in my Coffee Ice Cream?
Absolutely! You can modify the amount of sugar based on your taste preferences. Start with less and add more if needed after tasting the mixture.
Is this Coffee Ice Cream suitable for everyone?
This recipe is free from pork, alcohol, and animal-derived gelatin, making it a great dessert option for many dietary choices.
Final Thoughts
I hope you find joy in making this delightful Coffee Ice Cream! It’s not just a treat; it’s a way to create sweet moments with family and friends. Enjoy every scoop of this rich and creamy dessert, and don’t hesitate to share your experiences or variations. Happy churning!
Coffee Ice Cream

Indulge in a delightful homemade Coffee Ice Cream that captures the rich, smooth essence of your favorite café treat! This creamy dessert is perfect for warm days or cozy nights in. With just six simple ingredients and minimal prep time, you can create a luscious ice cream that will impress family and friends alike. The combination of coffee and vanilla flavors makes it an indulgent treat suitable for any occasion. Plus, it’s easy to customize with your favorite add-ins, ensuring a unique experience every time. Treat yourself to this refreshing dessert and savor each creamy scoop!
- Prep Time: 20 minutes
- Cook Time: 15 minutes
- Total Time: 35 minutes
- Yield: Approximately 6 servings 1x
- Category: Dessert
- Method: Churning
- Cuisine: American
Ingredients
- 1½ cups heavy whipping cream
- 1½ cups whole milk
- ¾–1 cup granulated sugar
- 4 egg yolks
- 1 tablespoon instant coffee or espresso powder
- 1 tablespoon vanilla extract
Instructions
- Prepare your ice cream maker by freezing the bowl according to manufacturer instructions.
- In a large saucepan, whisk together heavy whipping cream, whole milk, granulated sugar, egg yolks, and instant coffee until smooth.
- Cook over medium heat while whisking constantly until the mixture thickens slightly (coats the back of a spoon).
- Stir in vanilla extract and cool the mixture in the refrigerator or freezer until cold.
- Pour the chilled mixture into your ice cream maker and churn according to manufacturer instructions for 20-30 minutes.
- Transfer to a container and freeze until firm (about 4-6 hours).
- Allow to sit at room temperature for 5-10 minutes before serving.
Nutrition
- Serving Size: ½ cup (120g)
- Calories: 290
- Sugar: 24g
- Sodium: 50mg
- Fat: 20g
- Saturated Fat: 12g
- Unsaturated Fat: 8g
- Trans Fat: 0g
- Carbohydrates: 27g
- Fiber: 0g
- Protein: 4g
- Cholesterol: 130mg