Spider Web Brownies
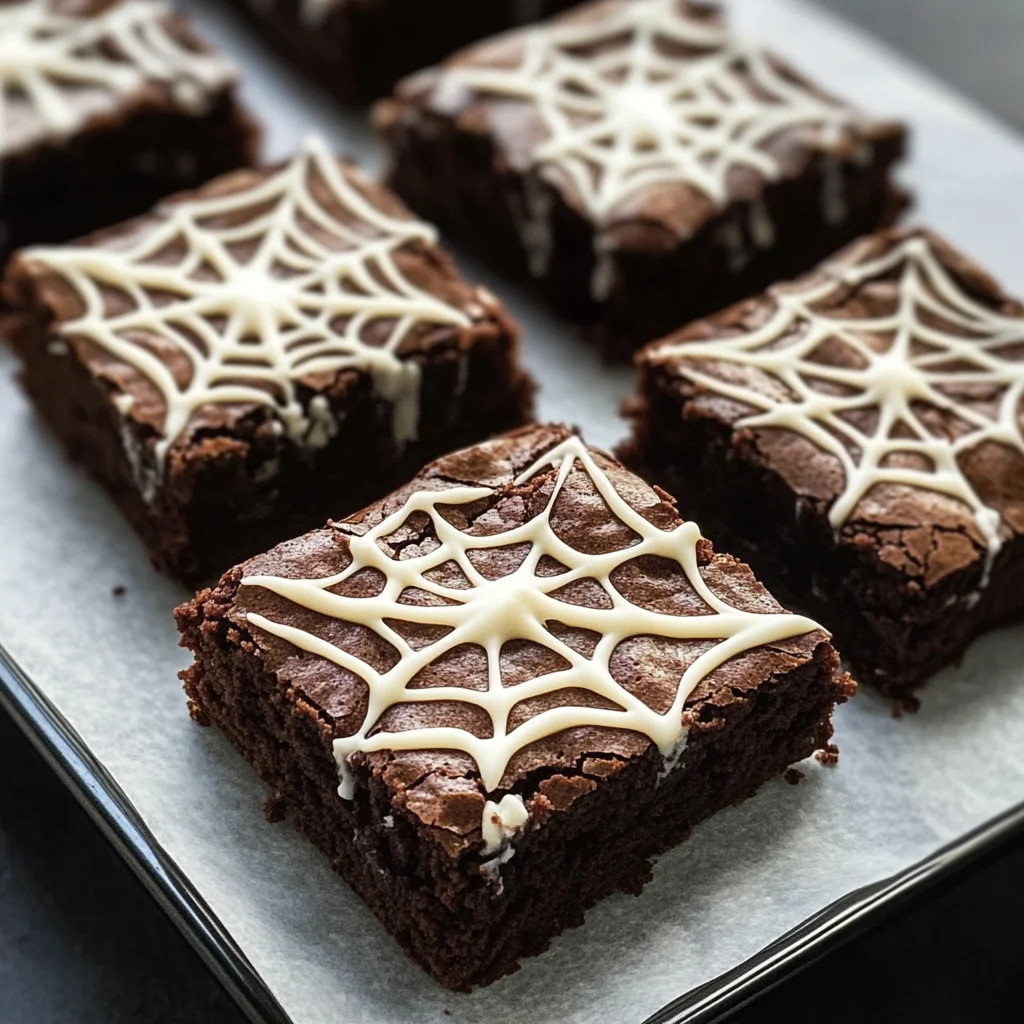
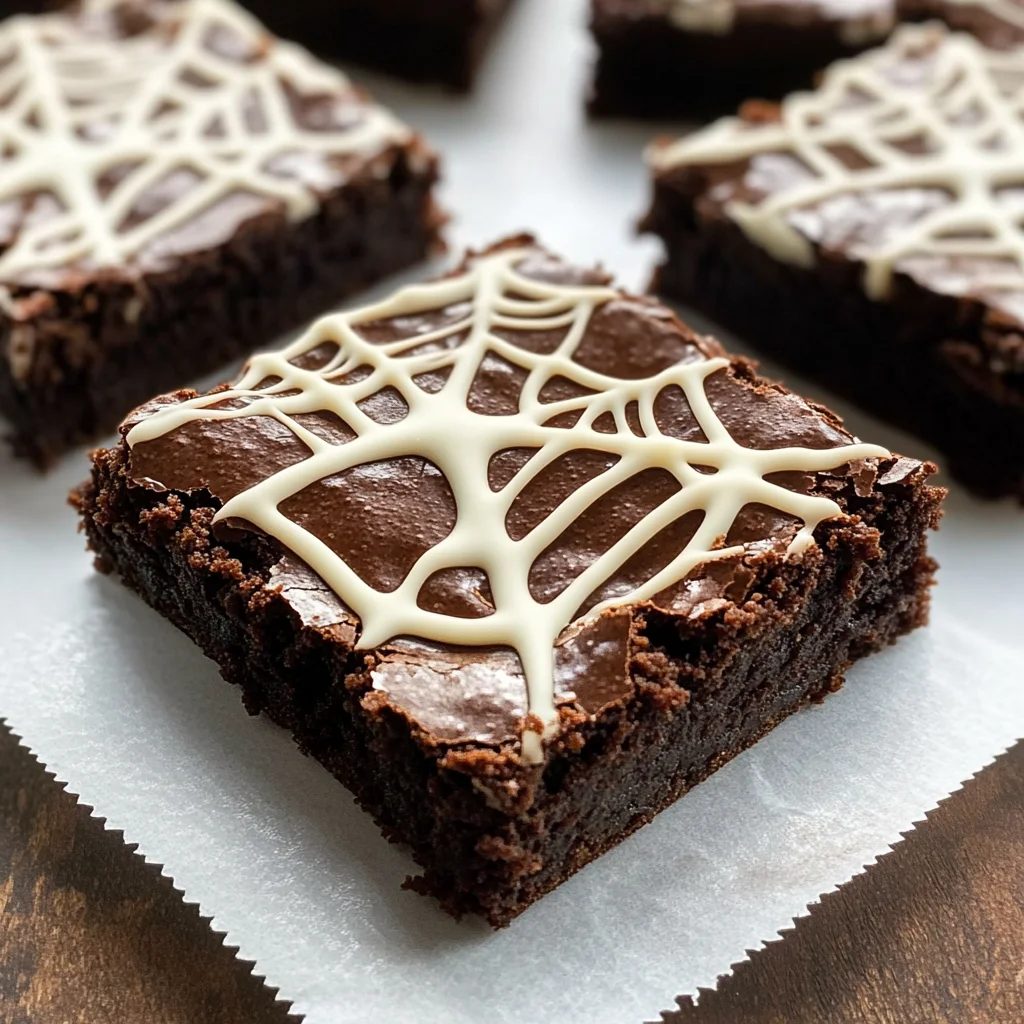
If you’re looking for a delightful treat that’s perfect for Halloween and beyond, you’ve come to the right place! These Spider Web Brownies are not just a feast for the eyes, but they also deliver on taste. With their rich chocolate flavor and soft, chewy texture, they quickly become a family favorite. Whether you’re celebrating spooky season or just want to whip up something fun for the kids (or yourself!), these brownies are sure to please.
What makes this recipe extra special is the simple white chocolate decoration that transforms them into festive little treats. They’re easy enough to make after a busy day, yet impressive enough for gatherings with friends and family. Let’s dive into why you’ll love making these Spider Web Brownies!
Why You’ll Love This Recipe
- Easy to Prepare: With straightforward steps, even novice bakers can whip these up in no time.
- Family-Friendly Fun: The spider web decoration adds an element of creativity that kids will enjoy.
- Deliciously Chewy: The melted butter ensures each bite is soft and satisfying.
- Make Ahead Convenience: Bake them in advance and store in an airtight container for a sweet treat anytime!
- Perfect for Any Occasion: Not just for Halloween, these brownies are great year-round!
Ingredients You’ll Need
Let’s take a look at the ingredients you’ll need to create these delicious Spider Web Brownies. They are all simple, wholesome ingredients that you probably already have in your kitchen!
For the Brownies
- 1 cup butter
- ¾ cup cocoa powder
- 4 large eggs
- 2 cups sugar
- 3 tablespoons vegetable oil
- 2 teaspoons vanilla extract
- 1 ½ cups all-purpose flour
- 1 teaspoon baking powder
- 1 teaspoon salt
For the Decoration
- ⅓ cup white chocolate chips (melted)
Variations
This recipe is wonderfully flexible, allowing you to get creative with flavors and decorations. Here are some fun ideas:
- Add Some Nuts: Stir in chopped walnuts or pecans for added texture and flavor.
- Mix in Chocolate Chips: Swap half of the white chocolate chips with dark or milk chocolate chips for a richer taste.
- Go Gluten-Free: Substitute all-purpose flour with a gluten-free blend to accommodate dietary needs.
- Experiment with Toppings: Top with sprinkles or edible glitter for extra festive flair!
How to Make Spider Web Brownies
Step 1: Preheat Your Oven
Start by preheating your oven to 350°F (175°C). This ensures that your brownies bake evenly and come out perfectly chewy.
Step 2: Melt the Butter
In a medium saucepan over low heat, melt the butter completely. Once melted, remove it from heat and stir in the cocoa powder until well combined. This step is crucial as it creates that rich chocolate base we all love.
Step 3: Mix Wet Ingredients
In a large mixing bowl, beat together the eggs, sugar, and vegetable oil until light and foamy. This process adds air to your mixture, which helps create fluffy brownies. Add your butter/cocoa mixture along with vanilla extract, stirring until everything is smooth and combined.
Step 4: Combine Dry Ingredients
In another bowl, mix together the flour, baking powder, and salt. Gradually add these dry ingredients to your wet mixture, stirring gently until just combined. Be careful not to overmix; we want those brownies to stay tender!
Step 5: Bake
Pour your brownie batter into a prepared 9×13 inch pan lined with foil and sprayed with cooking spray. Bake in your preheated oven for about 25-30 minutes. A toothpick inserted into the center should come out clean when they’re done. Allow them to cool completely before cutting into squares.
Step 6: Decorate Your Brownies
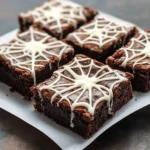
For those adorable spider webs, fill a small ziplock bag with melted white chocolate. Cut off one corner of the bag and pipe the melted chocolate onto each brownie in a web shape. This final touch not only looks cute but tastes delicious too! Serve them right away or store in an airtight container for up to 3-5 days.
Now you’re ready to impress everyone with these spooky yet scrumptious Spider Web Brownies! Enjoy every bite!
Pro Tips for Making Spider Web Brownies
Creating perfect Spider Web Brownies is a breeze with just a few helpful tips. Follow these suggestions to ensure your brownies turn out deliciously every time!
- Use room temperature eggs: Eggs that are at room temperature incorporate better into the batter, resulting in a lighter texture. This small step can make a big difference in how your brownies rise and taste.
- Don’t overmix the batter: Once you combine the wet and dry ingredients, mix just until incorporated. Overmixing can lead to dense brownies, so be gentle to keep them soft and chewy.
- Check for doneness carefully: Ovens vary, so start checking your brownies at the 25-minute mark. A toothpick inserted should come out with a few moist crumbs—this ensures they’ll be fudgy rather than dry.
- Let them cool completely before cutting: Allowing the brownies to cool in the pan helps set their structure. Cutting them too soon can result in messy squares, so patience pays off!
- Experiment with toppings: Don’t hesitate to add your favorite toppings or mix-ins! Chopped nuts or Halloween-themed sprinkles can give your brownies a fun twist that everyone will love.
How to Serve Spider Web Brownies
Serving up these delightful Spider Web Brownies is just as important as making them! Here are some creative ideas to showcase your spooky dessert beautifully.
Garnishes
- Powdered sugar dusting: A light sprinkle of powdered sugar adds an elegant touch and mimics ghostly dust for that Halloween vibe.
- Chocolate drizzle: Enhance the chocolate flavor by drizzling more melted chocolate over your brownies before decorating with white chocolate webs. It’s both tasty and visually appealing!
Side Dishes
- Vanilla ice cream: A scoop of creamy vanilla ice cream perfectly complements the rich brownie flavor. The cold ice cream contrasts beautifully with the warm, fudgy texture of the brownies.
- Fresh berries: Serve alongside fresh raspberries or strawberries for a pop of color and tartness that balances out the sweetness of the brownies.
- Pumpkin spice whipped cream: Whip up some pumpkin spice-flavored whipped cream for a seasonal twist that ties in beautifully with fall flavors. It’s festive and delicious!
With these serving suggestions and pro tips, you’ll create an unforgettable dessert experience that everyone will enjoy this Halloween season! Happy baking!
Make Ahead and Storage
These Spider Web Brownies are not only a delightful treat for Halloween but also perfect for meal prep! You can easily make them ahead of time, ensuring you have a sweet surprise ready for any occasion.
Storing Leftovers
- Allow the brownies to cool completely.
- Cut into squares and place them in an airtight container.
- Store at room temperature for up to 3-5 days, or in the refrigerator for longer freshness.
Freezing
- Wrap each brownie square individually in plastic wrap or aluminum foil.
- Place wrapped brownies in a freezer-safe container or bag.
- Freeze for up to 3 months. Make sure to label the container with the date.
Reheating
- If frozen, allow brownies to thaw at room temperature before reheating.
- To reheat, place brownies on a microwave-safe plate and heat in short intervals (about 10-15 seconds) until warm.
- Enjoy them slightly warmed for an extra gooey treat!
FAQs
Here are some common questions about making these delightful Spider Web Brownies.
Can I use dark chocolate instead of cocoa powder for Spider Web Brownies?
Yes, you can substitute cocoa powder with dark chocolate. Just melt the chocolate and adjust the quantity so it equals the weight of cocoa powder used.
How do I pipe the spider web design on my Spider Web Brownies?
To pipe the design, fill a small ziplock bag with melted white chocolate, then cut off one corner. Practice piping on parchment paper first if you’re unsure!
Can I add nuts or other toppings to my Spider Web Brownies?
Absolutely! Feel free to mix in chocolate chips, nuts, or any favorite toppings before baking. Just keep in mind that this may alter the texture slightly.
What is the best way to cut brownies?
For perfectly cut brownies, use a sharp knife and clean it between cuts. This helps achieve clean edges without crumbling.
How can I make these brownies gluten-free?
You can substitute all-purpose flour with a gluten-free flour blend. Ensure that all other ingredients are also gluten-free.
Final Thoughts
I hope you find joy in creating these spooky yet scrumptious Spider Web Brownies! They’re perfect for sharing with friends and family during Halloween festivities or simply indulging yourself. Enjoy every bite and let your creativity shine as you decorate them! Happy baking!
Spider Web Brownies
If you’re looking for a fun and delicious treat this Halloween, try making Spider Web Brownies! These delightful brownies are rich in chocolate flavor and have a chewy texture that makes them irresistible. The simple white chocolate spider web decoration adds an extra festive touch, making them perfect for gatherings or family fun. Easy to prepare, these brownies are sure to be a hit with kids and adults alike. Enjoy them year-round, whether it’s for Halloween or just a cozy dessert night at home.
- Prep Time: 15 minutes
- Cook Time: 30 minutes
- Total Time: 45 minutes
- Yield: Makes approximately 16 brownies 1x
- Category: Dessert
- Method: Baking
- Cuisine: American
Ingredients
- 1 cup butter
- ¾ cup cocoa powder
- 4 large eggs
- 2 cups sugar
- 3 tablespoons vegetable oil
- 2 teaspoons vanilla extract
- 1 ½ cups all-purpose flour
- 1 teaspoon baking powder
- 1 teaspoon salt
- ⅓ cup white chocolate chips (melted)
Instructions
- Preheat your oven to 350°F (175°C).
- Melt the butter in a medium saucepan over low heat. Stir in cocoa powder until well combined.
- In a large bowl, beat eggs, sugar, and vegetable oil until light and foamy. Mix in the melted butter/cocoa mixture and vanilla extract until smooth.
- In another bowl, whisk together flour, baking powder, and salt. Gradually add to the wet mixture, stirring gently until just combined.
- Pour batter into a greased 9×13 inch pan and bake for 25-30 minutes or until a toothpick comes out clean. Let cool before cutting into squares.
- For decoration, fill a ziplock bag with melted white chocolate, cut off one corner, and pipe a web design on each brownie.
Nutrition
- Serving Size: 1 brownie (60g)
- Calories: 270
- Sugar: 25g
- Sodium: 130mg
- Fat: 15g
- Saturated Fat: 9g
- Unsaturated Fat: 5g
- Trans Fat: 0g
- Carbohydrates: 34g
- Fiber: 1g
- Protein: 3g
- Cholesterol: 70mg

